Understanding Multi-repo and Mono-repo Code Management (with Practice Source Code)
Table of Contents 目录
Understanding Repository Management Approaches
Multi-repo
Full name: Multiple Repositories
Multi-repo means each project or component has its own independent version control repository. Its characteristics include:
- Each project has its own codebase and version control history
- Projects remain separate, can use different frameworks, languages, or technologies
- Higher code security because each repository is independent
- Suitable for large projects or organizations with multiple independent teams
Our business projects are basically multi-repo. However, if a multi-repo project needs to develop multiple libraries that have dependencies on each other, collaboration becomes very cumbersome. For example, in the React project, we know it has the React core library, React DOM, React Native, and these modules share a lot of code and dependencies. Using mono-repo allows these modules to share the same codebase, avoiding code duplication and improving code reuse. Okay, let’s understand mono-repo!
Mono-repo
Full name: Monolithic Repository
Mono-repo means containing multiple projects or components in a single version control repository. Its characteristics include:
- All projects share the same codebase and version control history
- Facilitates code sharing and centralized management
- Simplifies dependency management
- Suitable for small to medium-sized projects or related projects that need tight integration
As mentioned above, projects like React are a perfect fit for using mono-repo. However, mono-repo also has its drawbacks:
- Performance: As the repository size grows, combining code across different functions and contexts in a single repository can slow down code pulling operations. This may affect new developers or CI/CD (Continuous Integration/Continuous Deployment) systems.
- Difficult access control: For large organizations, it may be difficult to implement fine-grained access control in a single repository, potentially leading to security risks.
- Technology stack limitations: Mono-repo may encourage a unified tech stack, which could limit the ability to use the most appropriate technology for specific projects.
So, choosing to use mono-repo as the repository management approach needs careful consideration. Let’s put it into practice next!
Mono-repo Practice
We can choose technologies based on the dimension of simplicity vs. complexity.
Simple tools:
- npm workspace: https://docs.npmjs.com/cli/v7/using-npm/workspaces
- yarn workspace: https://classic.yarnpkg.com/lang/en/docs/workspaces/
- pnpm workspace: https://pnpm.io/workspaces (recommended reading: https://juejin.cn/post/7127295203177676837)
Professional tools:
- lerna: https://www.lernajs.cn/, originally created by Sebastian McKenzie, who is also the author of Babel. Lerna is now maintained by the open source community, with major contributors from various tech companies.
- Nx: https://nx.dev/, developed and maintained by Nrwl. Nrwl is a company focused on providing enterprise-level development tools and services, founded by former Google employees Victor Savkin and Jeff Cross.
- Turborepo: https://turborepo.org/, originally developed personally by Jared Palmer. In 2021, Vercel acquired Turborepo, and it is now developed and maintained by the Vercel team. Vercel is a company focused on frontend development and deployment, known for the Next.js framework.
- Bazel: https://bazel.build/about/intro?hl=en, developed and maintained by Google. It originated from Google’s internal build tool Blaze, which was later open-sourced and renamed Bazel. Google’s large-scale mono-repo practice provided rich experience for Bazel’s design.
- Rush: https://rushjs.io/, a scalable mono-repo manager developed by Microsoft.
Simple Tool: Using pnpm
For personal small projects, using pnpm is sufficient. Let’s get started quickly.
- Create a folder
mkdir mono-repo-pnpmcd ./mono-repo-pnpm- Initialize pnpm
pnpm init- Initialize pnpm-workspace.yaml + configure global code standards Reference: https://pnpm.io/pnpm-workspace_yaml, create pnpm-workspace.yaml
packages: - 'packages/*'This specifies that all files under /package are all sub-projects of our mono-repo. The initial configuration of our mono-repo is complete.
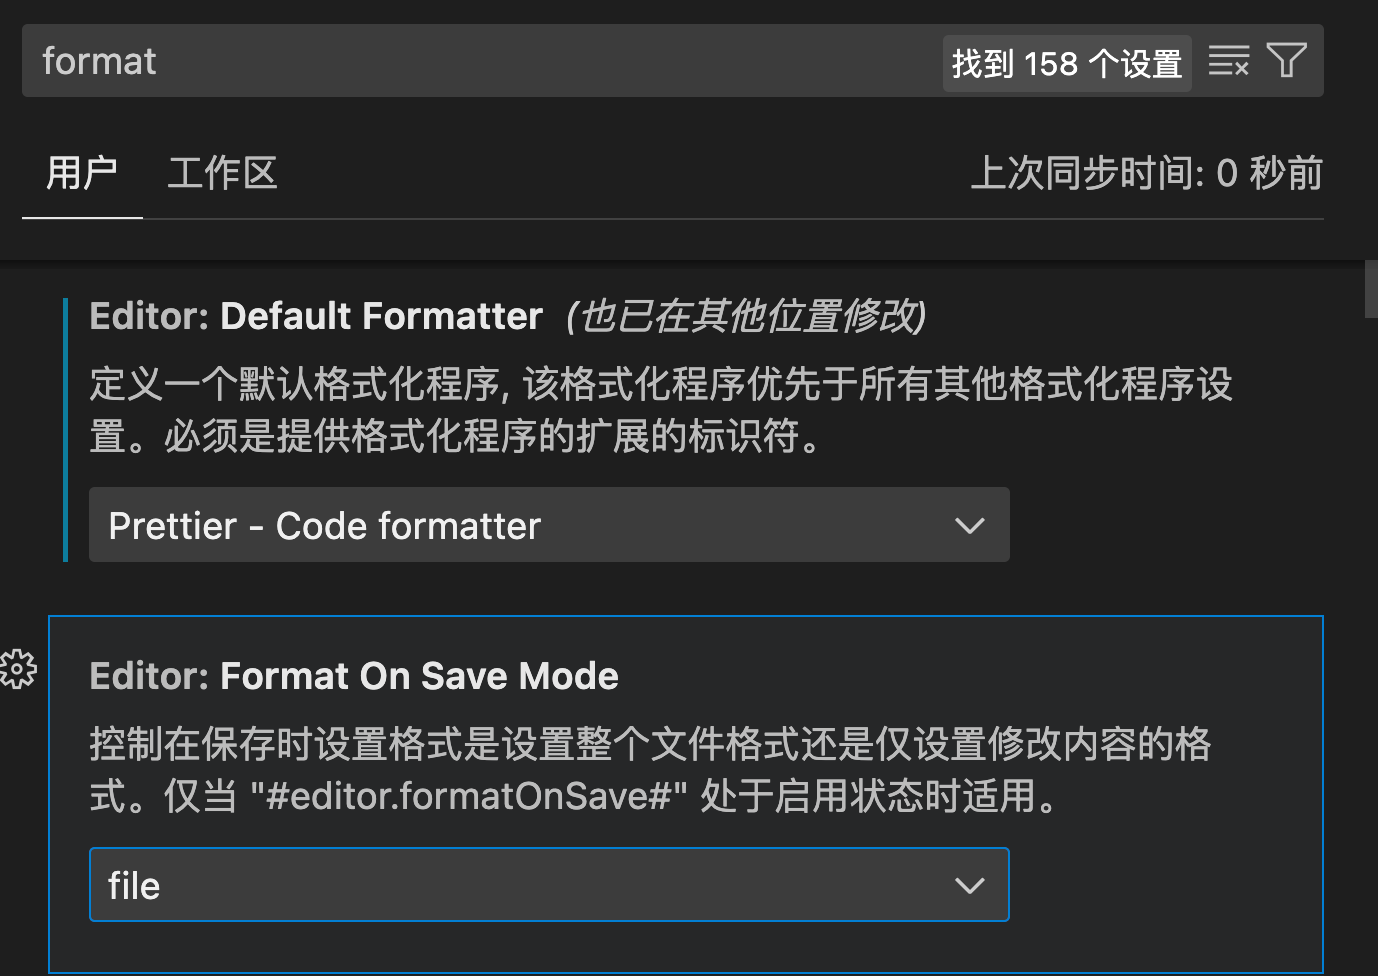
Now, let’s install the global code formatting dependencies. This way, each sub-package uses a unified code formatting standard. Oh, by the way, our editor needs to have ESLint and Prettier plugins installed first, and configure them in settings.
 Then, we install:
pnpm i eslint -D -w-w is an alias for --workspace-root, meaning it is installed in the project root directory as a shared dependency for all submodules. You can also use -r to install recursively for each submodule, or --filter <package_name> to install for a specific submodule. Then initialize it, run in the terminal: npx eslint --init (we need to select some configurations, and after selection, an eslint.config.mjs file will be generated for us). However, you might encounter a prompt like this:
WARN Issues with peer dependencies found.├─┬ @typescript-eslint/parser 7.14.1│ └── ✕ unmet peer eslint@^8.56.0: found 9.6.0└─┬ typescript-eslint 7.14.1 ├── ✕ unmet peer eslint@^8.56.0: found 9.6.0 └─┬ @typescript-eslint/eslint-plugin 7.14.1 ├── ✕ unmet peer eslint@^8.56.0: found 9.6.0 ├─┬ @typescript-eslint/utils 7.14.1 │ └── ✕ unmet peer eslint@^8.56.0: found 9.6.0 └─┬ @typescript-eslint/type-utils 7.14.1 └── ✕ unmet peer eslint@^8.56.0: found 9.6.0We can execute: pnpm install eslint@^8.56.0 -D. This indicates that the eslint version does not match the expected version of some dependencies. We just need to install the matching version.
Next, we install the ESLint plugin for TypeScript and the Prettier dependencies.
pnpm i -D -w @typescript-eslint/eslint-plugin prettier eslint-config-prettier eslint-plugin-prettierThen, we create the corresponding configuration files. First, create .prettierrc.json.
{ "printWidth": 80, "tabWidth": 2, "useTabs": true, "singleQuote": true, "semi": true, "trailingComma": "none", "bracketSpacing": true}Then create tsconfig.json.
{ "include": ["./packages/**/*"], "compileOnSave": true, "compilerOptions": { "target": "ESNext", "useDefineForClassFields": true, "module": "ESNext", "lib": ["ESNext", "DOM"], "moduleResolution": "Node", "strict": true, "sourceMap": true, "resolveJsonModule": true, "isolatedModules": true, "esModuleInterop": true, "noEmit": true, "noUnusedLocals": true, "noUnusedParameters": true, "noImplicitReturns": false, "skipLibCheck": true, "baseUrl": "./packages" }}Then modify eslint.config.mjs.
import pluginJs from '@eslint/js';import globals from 'globals';import tseslint from 'typescript-eslint';
export default [  { files: ['**/*.{js,mjs,cjs,ts}'] },  { languageOptions: { globals: globals.browser } },  pluginJs.configs.recommended,  ...tseslint.configs.recommended,  {    env: {      browser: true,      es2021: true,      node: true    },    extends: [      'eslint:recommended',      'plugin:@typescript-eslint/recommended',      'prettier',      'plugin:prettier/recommended'    ],    parser: '@typescript-eslint/parser',    parserOptions: {      ecmaVersion: 'latest',      sourceType: 'module'    },    plugins: ['@typescript-eslint', 'prettier'],    rules: {      'prettier/prettier': 'error',      'no-case-declarations': 'off',      'no-constant-condition': 'off',      '@typescript-eslint/ban-ts-comment': 'off'    }  }];
Now, our project has automatic error prompts and formatting on save. We can add a script in package.json.
"lint": "eslint --ext .ts,.js,.jsx,.tsx --fix --quiet ./packages"- Create sub-projects We create two sub-projects and initialize them.
mkdir -p packages/common packages/appInitialize each sub-project.
cd packages/commonpnpm initcd ../apppnpm initcd ../..Modify the package.json of each sub-project. This represents the install name for the sub-package and also indicates that these packages all belong to the mono-repo-pnpm package.
{ "name": "@mono-repo-pnpm/app", ...}// packages/common{ "name": "@mono-repo-pnpm/common", ...}- Add some shared code in the common package
In
packages/common/index.js, add:
console.log('executed common.js');exports.sayHello = (name) => `Hello, ${name}!`;- Use the common package in the app package
First, add a dependency on the common package in the app’s
package.json.
{ "dependencies": { "@mono-repo-pnpm/common": "workspace:*" }}Then use the common package in packages/app/index.js:
const { sayHello } = require('@mono-repo-pnpm/common');console.log(sayHello('Monorepo'));We can test that the globally configured code standards are also effective. If the code doesn’t conform to the rules when saving, we’ll see a prompt and it will automatically format on save.
-
In the terminal, run:
node ./packages/app. We will see: This is achieved through mono-repo’s local dependency capability. Without using mono-repo, we might need to use
 npm linkto solve this, which is very troublesome. -
Install a dependency, lodash, in the root directory. Then, in sub-directories, we can use
"lodash": "*",to use the lodash from the root directory. This allows managing all packages from the root. -
We can add a script in each
package.json, for example:"dev": "node index.js". Then executepnpm -r devin the root directory. This way, we can run the dev scripts of all sub-projects with a single line of command.
Through this basic mono-repo project, we have used the following capabilities of mono-repo:
- Workspace management: Easily manage multiple packages via pnpm-workspace.yaml.
- Dependency sharing: Sub-projects can share dependencies, saving disk space.
- Local dependencies: Can use the
workspace:*syntax to reference local packages. - Unified version control: Can manage versions of all packages from the root.
- Parallel execution: Can run scripts of multiple packages in parallel.
Professional Tool: Using Turborepo
Operating system: macOS. If you’re using Windows, some parts may differ.
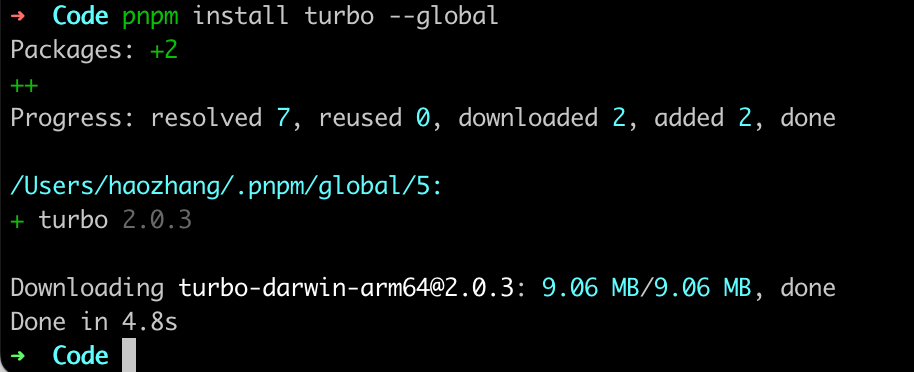
We install turbo globally by running pnpm install turbo --global. If you also get an error:
 Don’t worry, follow me step by step to fix this error. It’s because the environment variables and global directory are not correctly configured.
-
First, follow the prompt and run
pnpm setup, then run the global install turbo command again. If you still see the above error, or a similar one like this:
-
Run
nano ~/.bashrcornano ~/.zshrc, and add the following:
export PNPM_HOME="$HOME/.pnpm"export PATH="$PNPM_HOME:$PATH"Save (Ctrl + O combination), the system will ask if you want to save the changes, press Enter. Then close (Ctrl + X combination) the file, and reload the configuration file:
source ~/.bashrc # or source ~/.zshrcLet’s verify if the configuration was successful:
# Confirm environment variables are set correctlyecho $PNPM_HOMEecho $PATH# Ensure the PNPM_HOME directory exists and contains global packages installed by pnpm:ls $PNPM_HOMEIf neither of these reports an error, the configuration is successful. Re-execute the global install turbo command, and it should install successfully.
-
After globally installing turbo, run
npx create-turbo@latest.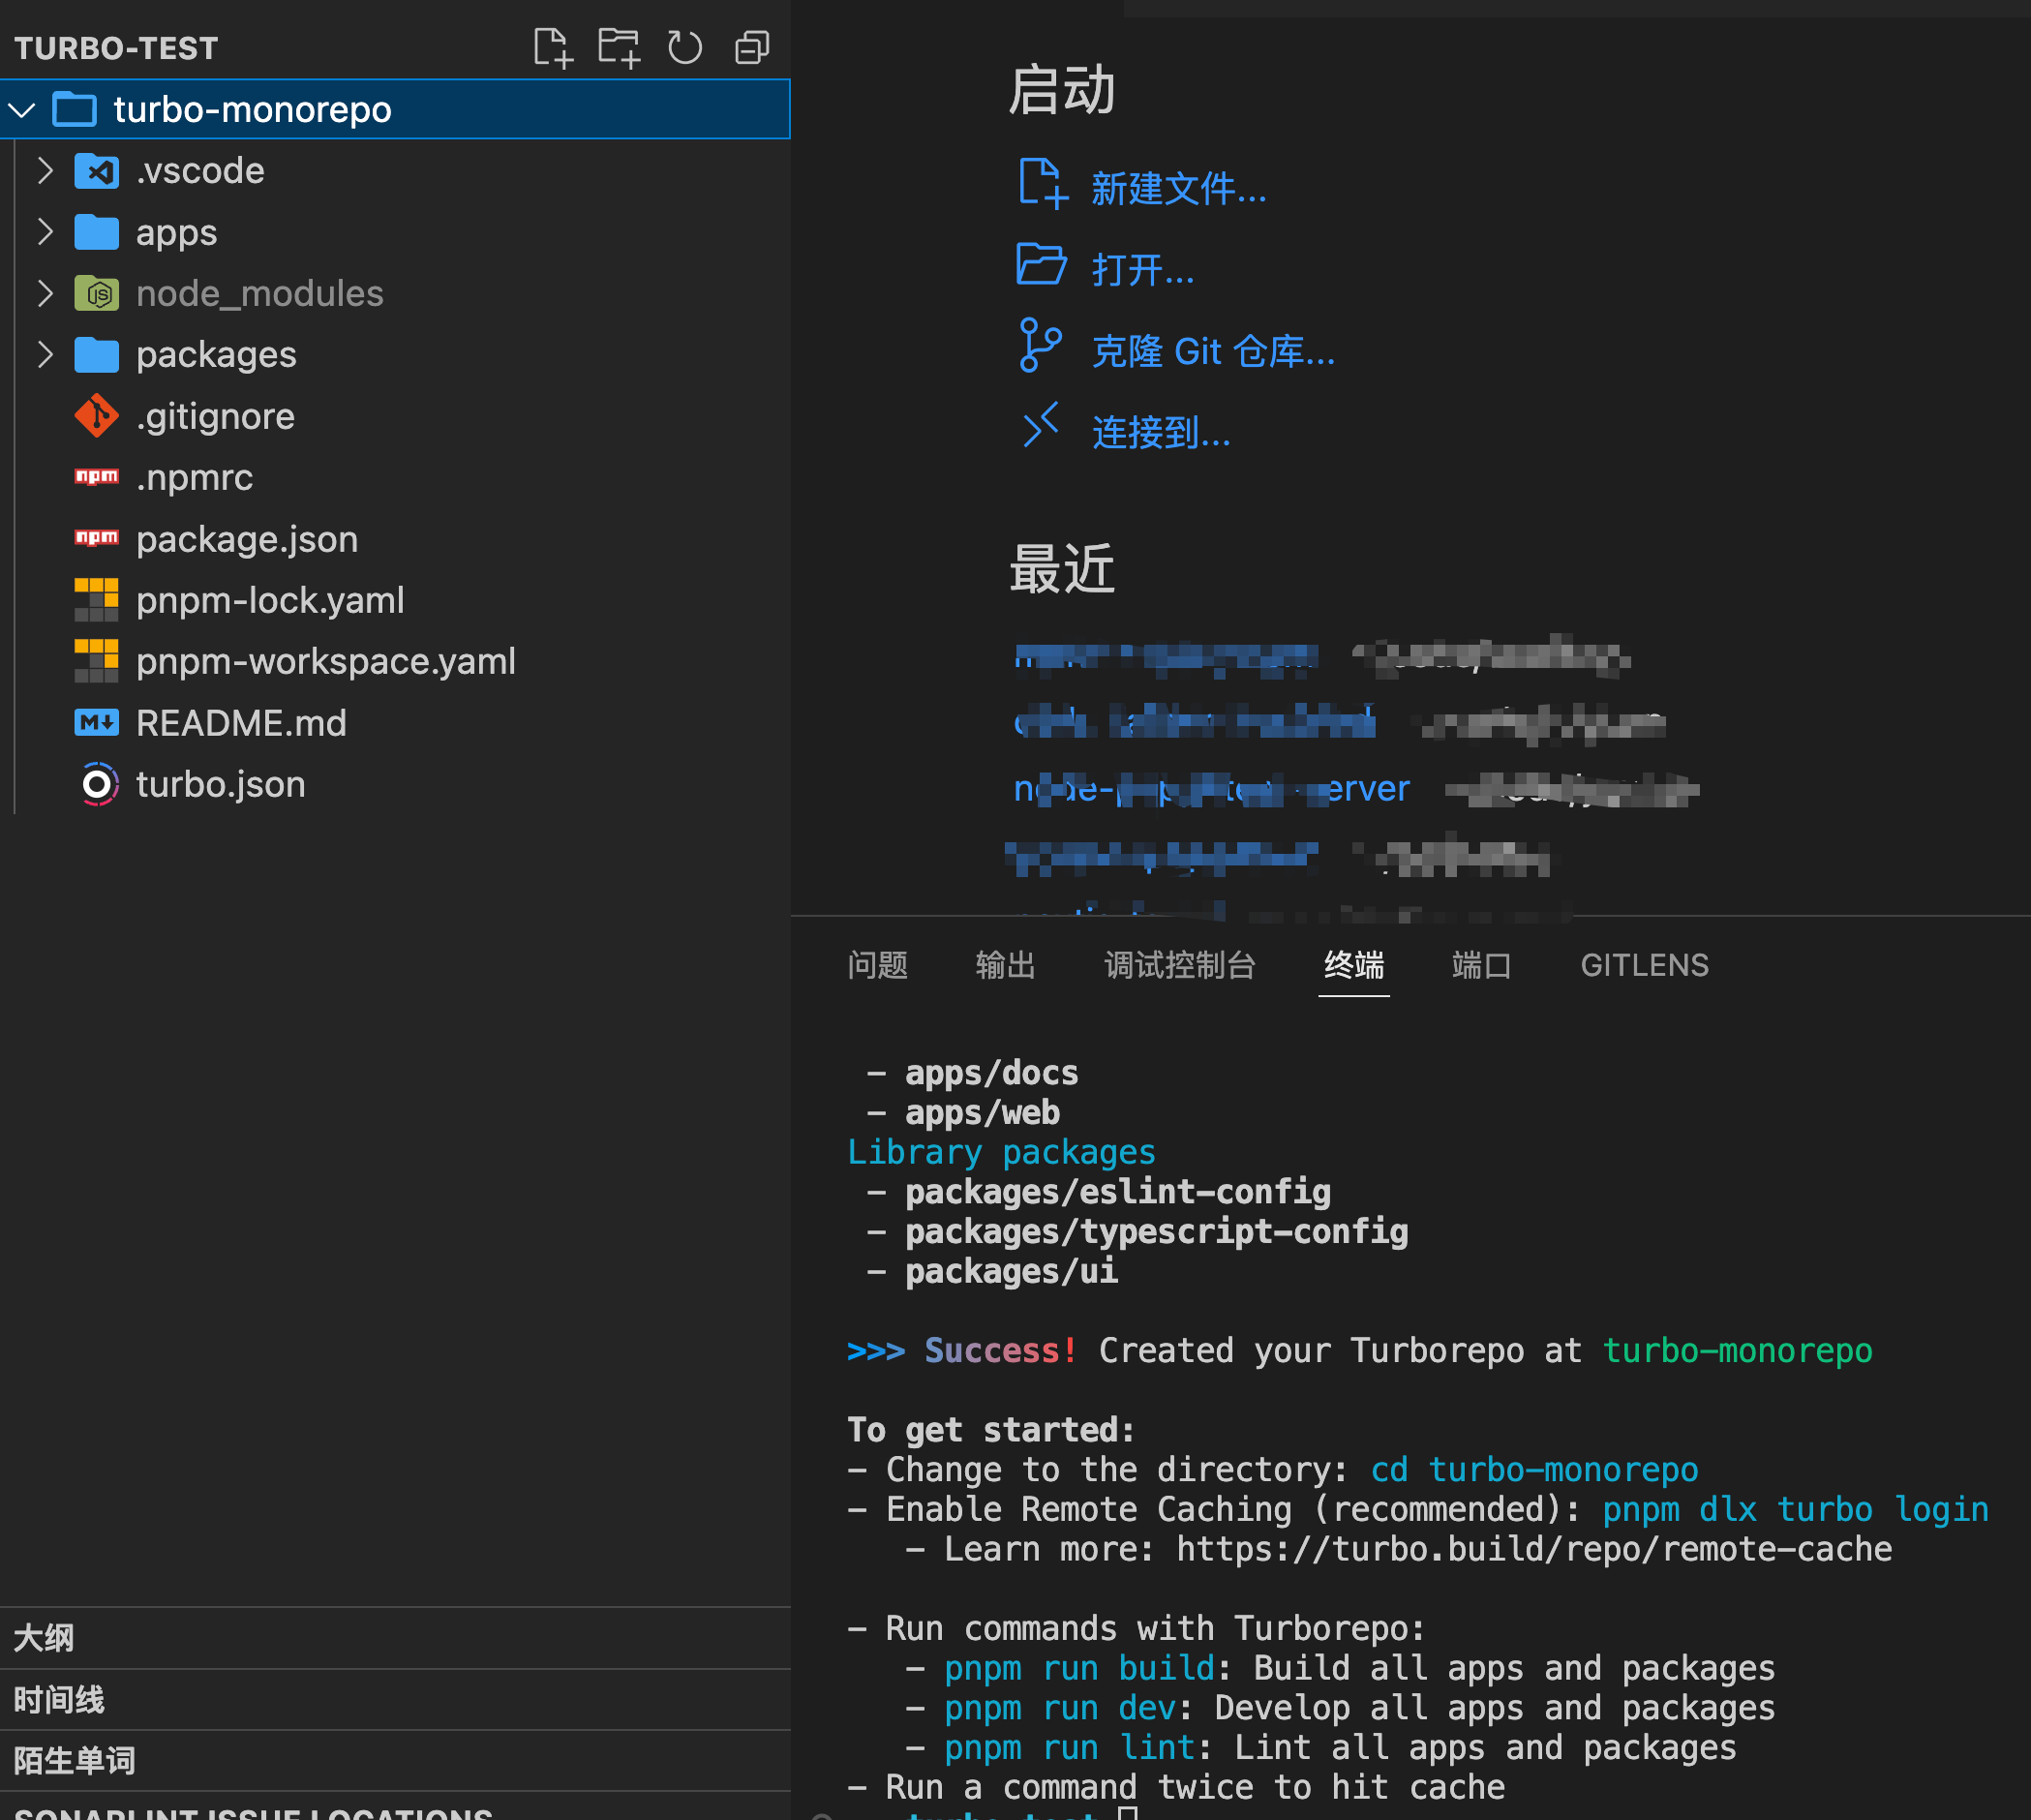
-
Understand the project directory. Turbo-repo solves the build performance issues of complex mono-repo projects.
my-turborepo/├── apps/│ ├── docs/│ └── web/├── packages/│ ├── eslint-config-custom/│ ├── tsconfig/│ └── ui/├── turbo.json└── package.json- Understand turbo.json.
turbo.jsonis the core configuration file for Turbo. It defines dependencies between tasks.
{ "$schema": "https://turbo.build/schema.json", "tasks": { "build": { "dependsOn": ["^build"], "inputs": ["$TURBO_DEFAULT$", ".env*"], "outputs": [".next/**", "!.next/cache/**"] }, "lint": { "dependsOn": ["^lint"] }, "dev": { "cache": false, "persistent": true } }}"$schema": Specifies the location of the JSON schema, used to validate the correctness of the configuration file."tasks": Defines various tasks in the project."build"task:"dependsOn": ["^build"]: Indicates that this task depends on thebuildtasks of all workspaces. The^symbol means only considering the dependencies of the current package."inputs": ["$TURBO_DEFAULT$", ".env*"]: Specifies input files for the task.$TURBO_DEFAULT$is Turbo’s default input set,.env*means all.envfiles."outputs": [".next/**", "!.next/cache/**"]: Specifies the task’s output. Includes all files under.next, but excludes the.next/cachedirectory.
"lint"task:"dependsOn": ["^lint"]: Indicates that this task depends on thelinttasks of all dependencies.
"dev"task:"cache": false: Disables caching for this task."persistent": true: Indicates this is a long-running task, such as a development server.
- In the root directory, you can run
turbo run build. This will build all applications and packages in parallel according to theturbo.jsonconfiguration. Build it twice, and you’ll notice the second build is shorter than the first. That’s because Turbo’s incremental builds and caching mechanism greatly improve build speed.
Finally, let’s look at the main capabilities of Turbo:
- Incremental builds: Turbo only rebuilds the parts that have changed.
- Remote caching: Build caches can be shared among team members.
- Parallel execution: Turbo can run tasks in parallel, improving efficiency.
- Task orchestration: Defines dependencies between tasks via
turbo.json. - Single configuration: Manage the entire monorepo with one
turbo.jsonfile.
References
- vivo Tech: Best Practices for Managing packages in a Monorepo with Lerna
- Turbo, the emerging monorepo management solution: https://segmentfault.com/a/1190000042282389
- My pnpm implementation of mono-repo code: https://github.com/chaseFunny/pnpm-monorepo
- My turbo example code: https://github.com/chaseFunny/turbo-monorepo