How to Build a Personal Blog with Next.js and GitHub Issues: A Complete Guide from Zero to Deployment
/ 6 min read /
Table of Contents 目录
This article provides a detailed walkthrough on building and deploying a personal blog from scratch using Next.js, GitHub Issues, and Vercel. It covers the tech stack selection, requirements analysis, development process, and deployment steps in a complete guide.
Hi everyone, I’m Lucky Snail. Today I’m sharing my personal blog that I built from scratch recently.
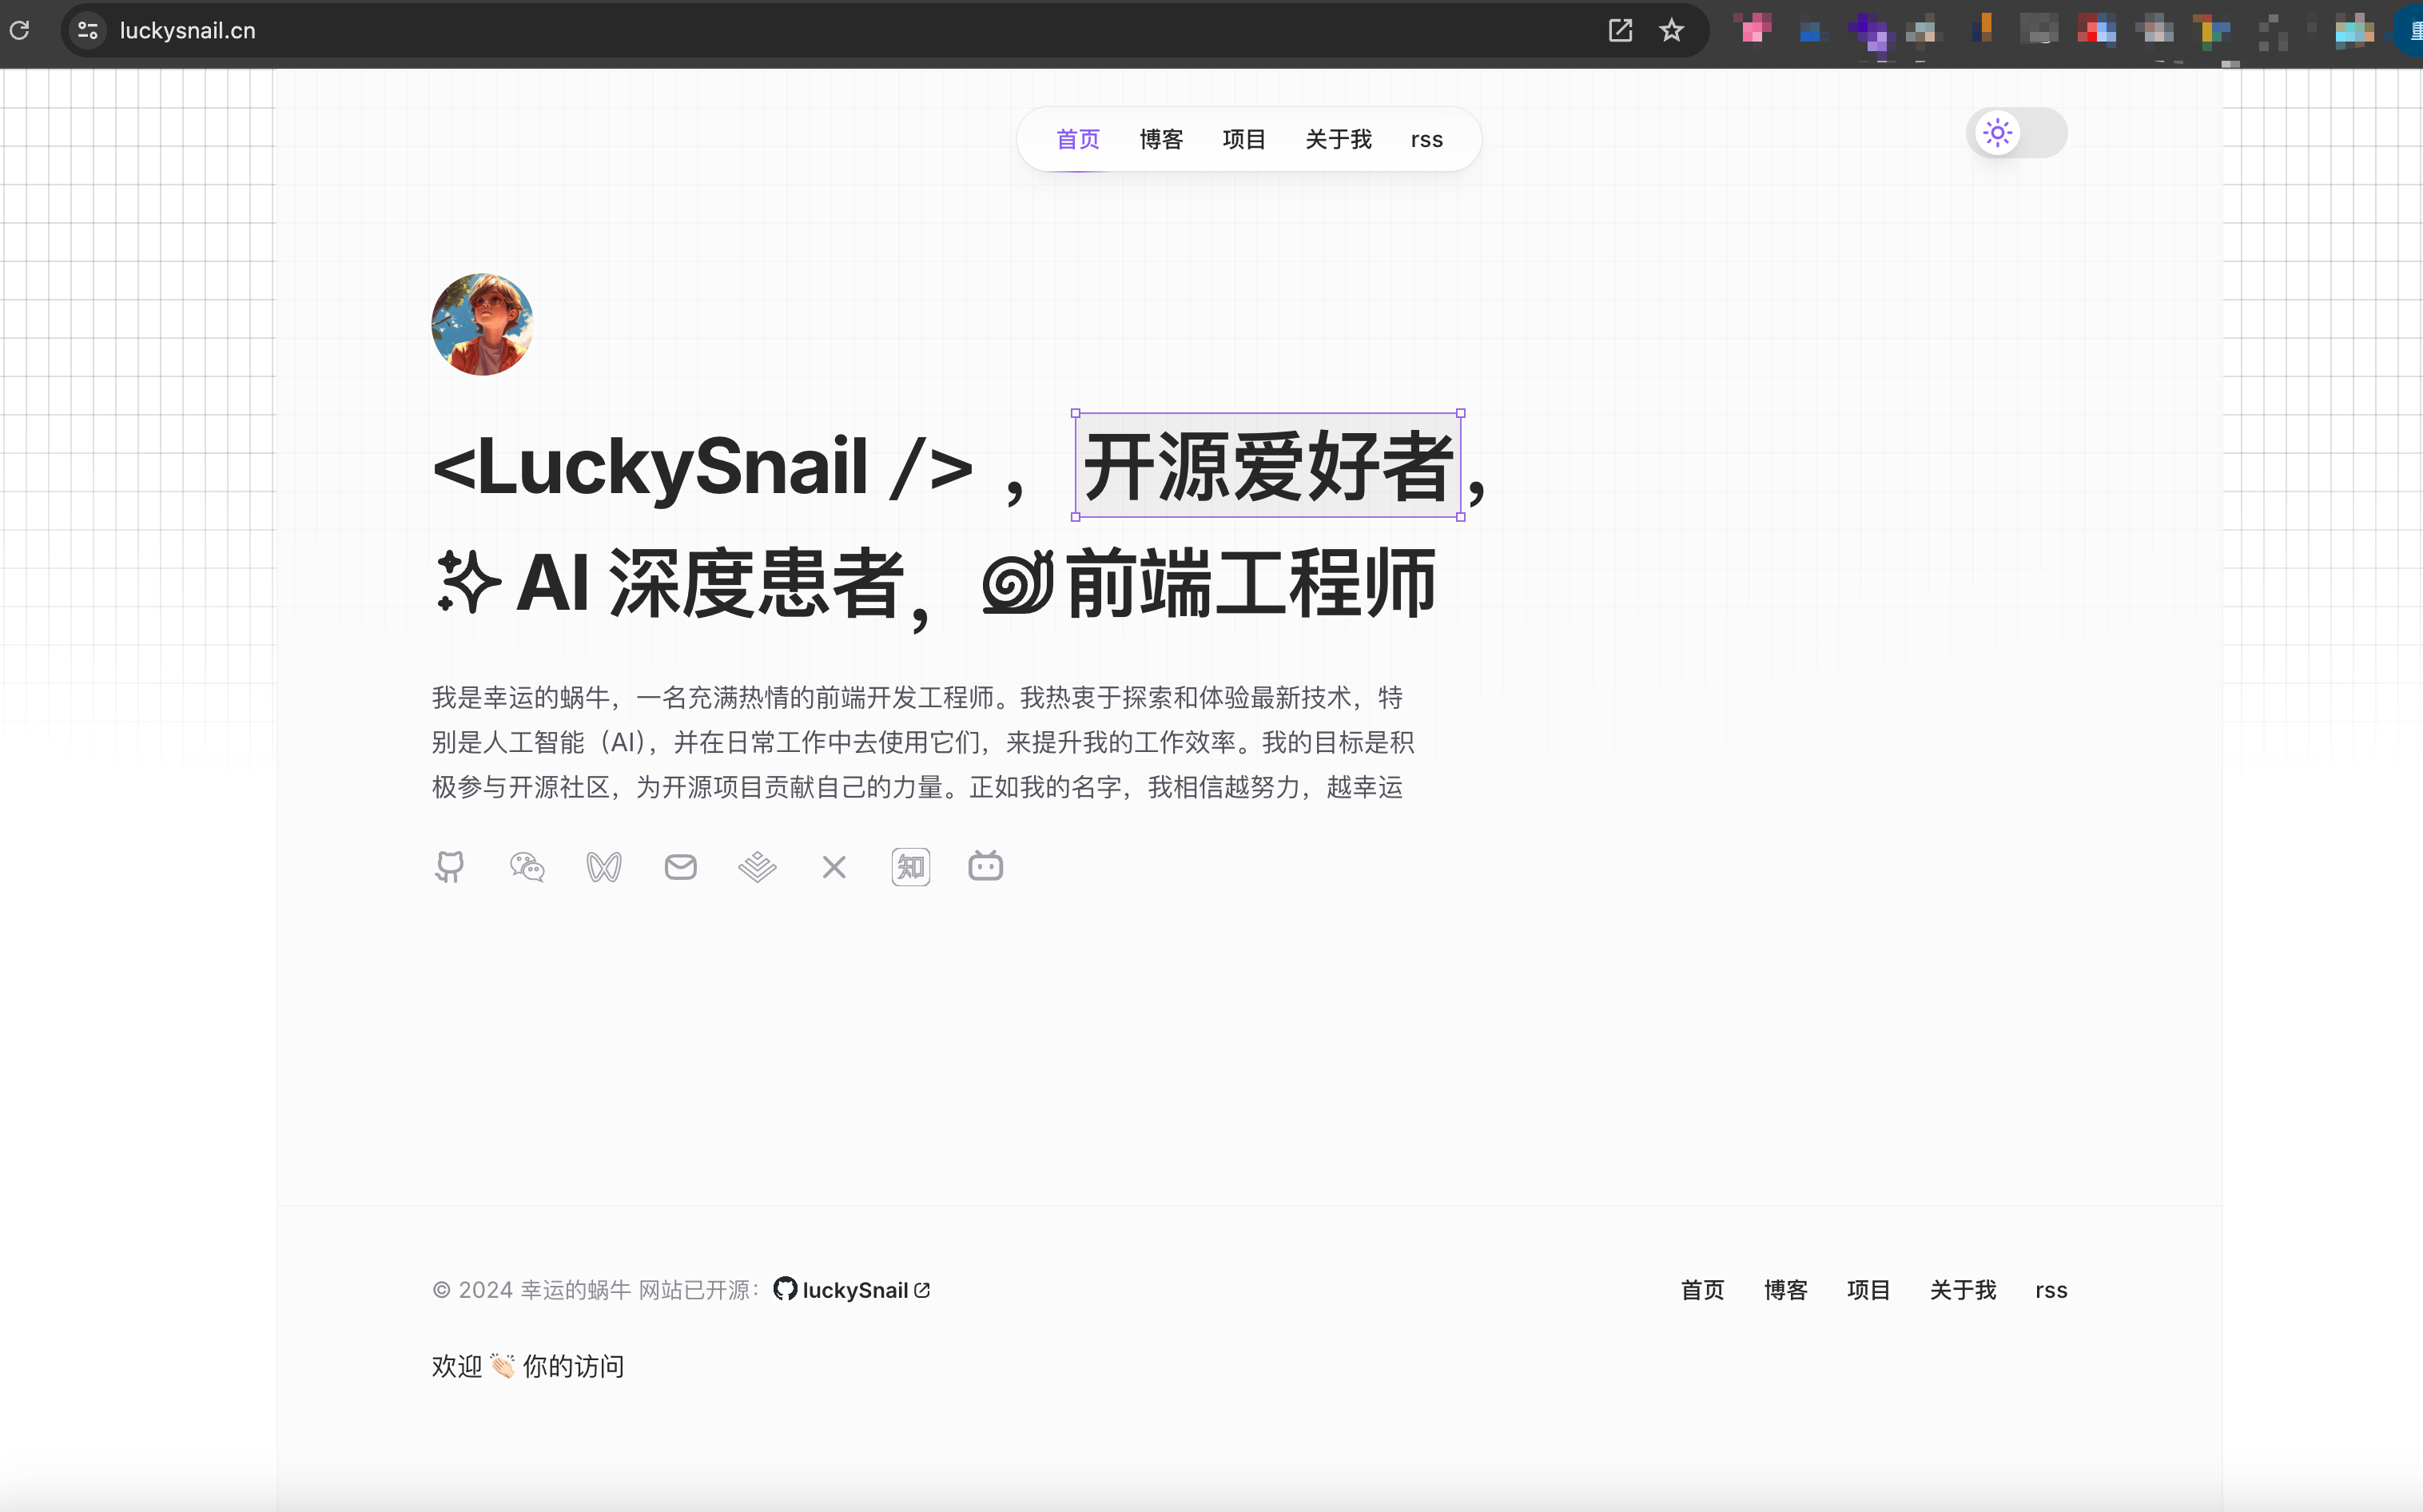
Lucky Snail’s Blog: https://www.luckysnail.cn/
I wonder if you have your own blog, or want to create one. I think having your own blog is pretty cool. Let me show you how I built this personal blog from zero to one. Here’s a preview of the homepage:
Background
Although I often publish articles on platforms like CSDN, Juejin, and WeChat Official Accounts, which offer great editing experiences and built-in traffic — very friendly for content sharers — I’ve always wanted a blog platform that’s completely my own. I’ve tried Hexo, Docusaurus, and other Next.js blog solutions based on projects like https://giscafer.com/, but none fully met my needs.
Inspired by many tech influencers’ personal blogs, and because I’ve been learning Next.js (through Yayu’s Next.js Juejin mini-book), I decided to build a blog system from the ground up.
Before starting this project, I considered modifying an open-source blog (https://cali.so/) by forking it and doing a second creation. I actually went ahead and changed a lot of things, but one big pain point was that it relied heavily on foreign services — especially Sanity. My local connection to Sanity would frequently drop, severely hampering the development experience. Also, its source code contained a lot of stuff I didn’t need. After some thought, I decided to build my own blog.
Requirements Planning
Once I decided to build it myself, I needed to figure out what kind of blog I wanted. The core of a blog is articles. So the main question was: how to handle CRUD for articles? Since I’m not familiar with MySQL and didn’t want to develop a backend within Next.js, I chose to use GitHub Issues to store article data. The workflow is as follows:
- Manage articles with GitHub Issues
- Use GitHub Actions to listen for Issues changes
- Convert Issues into article content
- Deploy the project to Vercel
- Vercel automatically detects code repository changes and redeploys
With the core functional idea in place, I could start prioritizing the requirements:
- Set up the base project (commit: https://github.com/axin-s-Template/Nextjs-Boilerplate/commits/main/)
- Code standards: ESLint + Prettier
- Commit standards: husky + lint-staged + @commitlint/cli + @commitlint/config-conventional
- Site SEO meta info
- Theme switching
- Use
srcas the source directory for a cleaner structure.
- Develop global navbar, footer, layout components, site SEO info, logo, 404 page.
- Develop home page, integrate framer-motion for animations.
- Develop projects page.
- Blog list + blog detail pages. Integrate contentlayer for MDX rendering.
- Develop about page (also an article rendered with MDX).
- Blog optimization
- TOC navigation bar in blog detail
- Improve mobile display
- Recommended reading (previous/next post)
- Add blog content
- Optimize code display
- Loading page
- Add GitHub Actions to convert Issues into posts.
- Add Baidu and Google verification and analytics.
- Support RSS, Robots, sitemap.xml.
Commits for the above code: https://github.com/coderPerseus/blog/commits/main/
Let’s check the site’s Lighthouse score in Chrome:
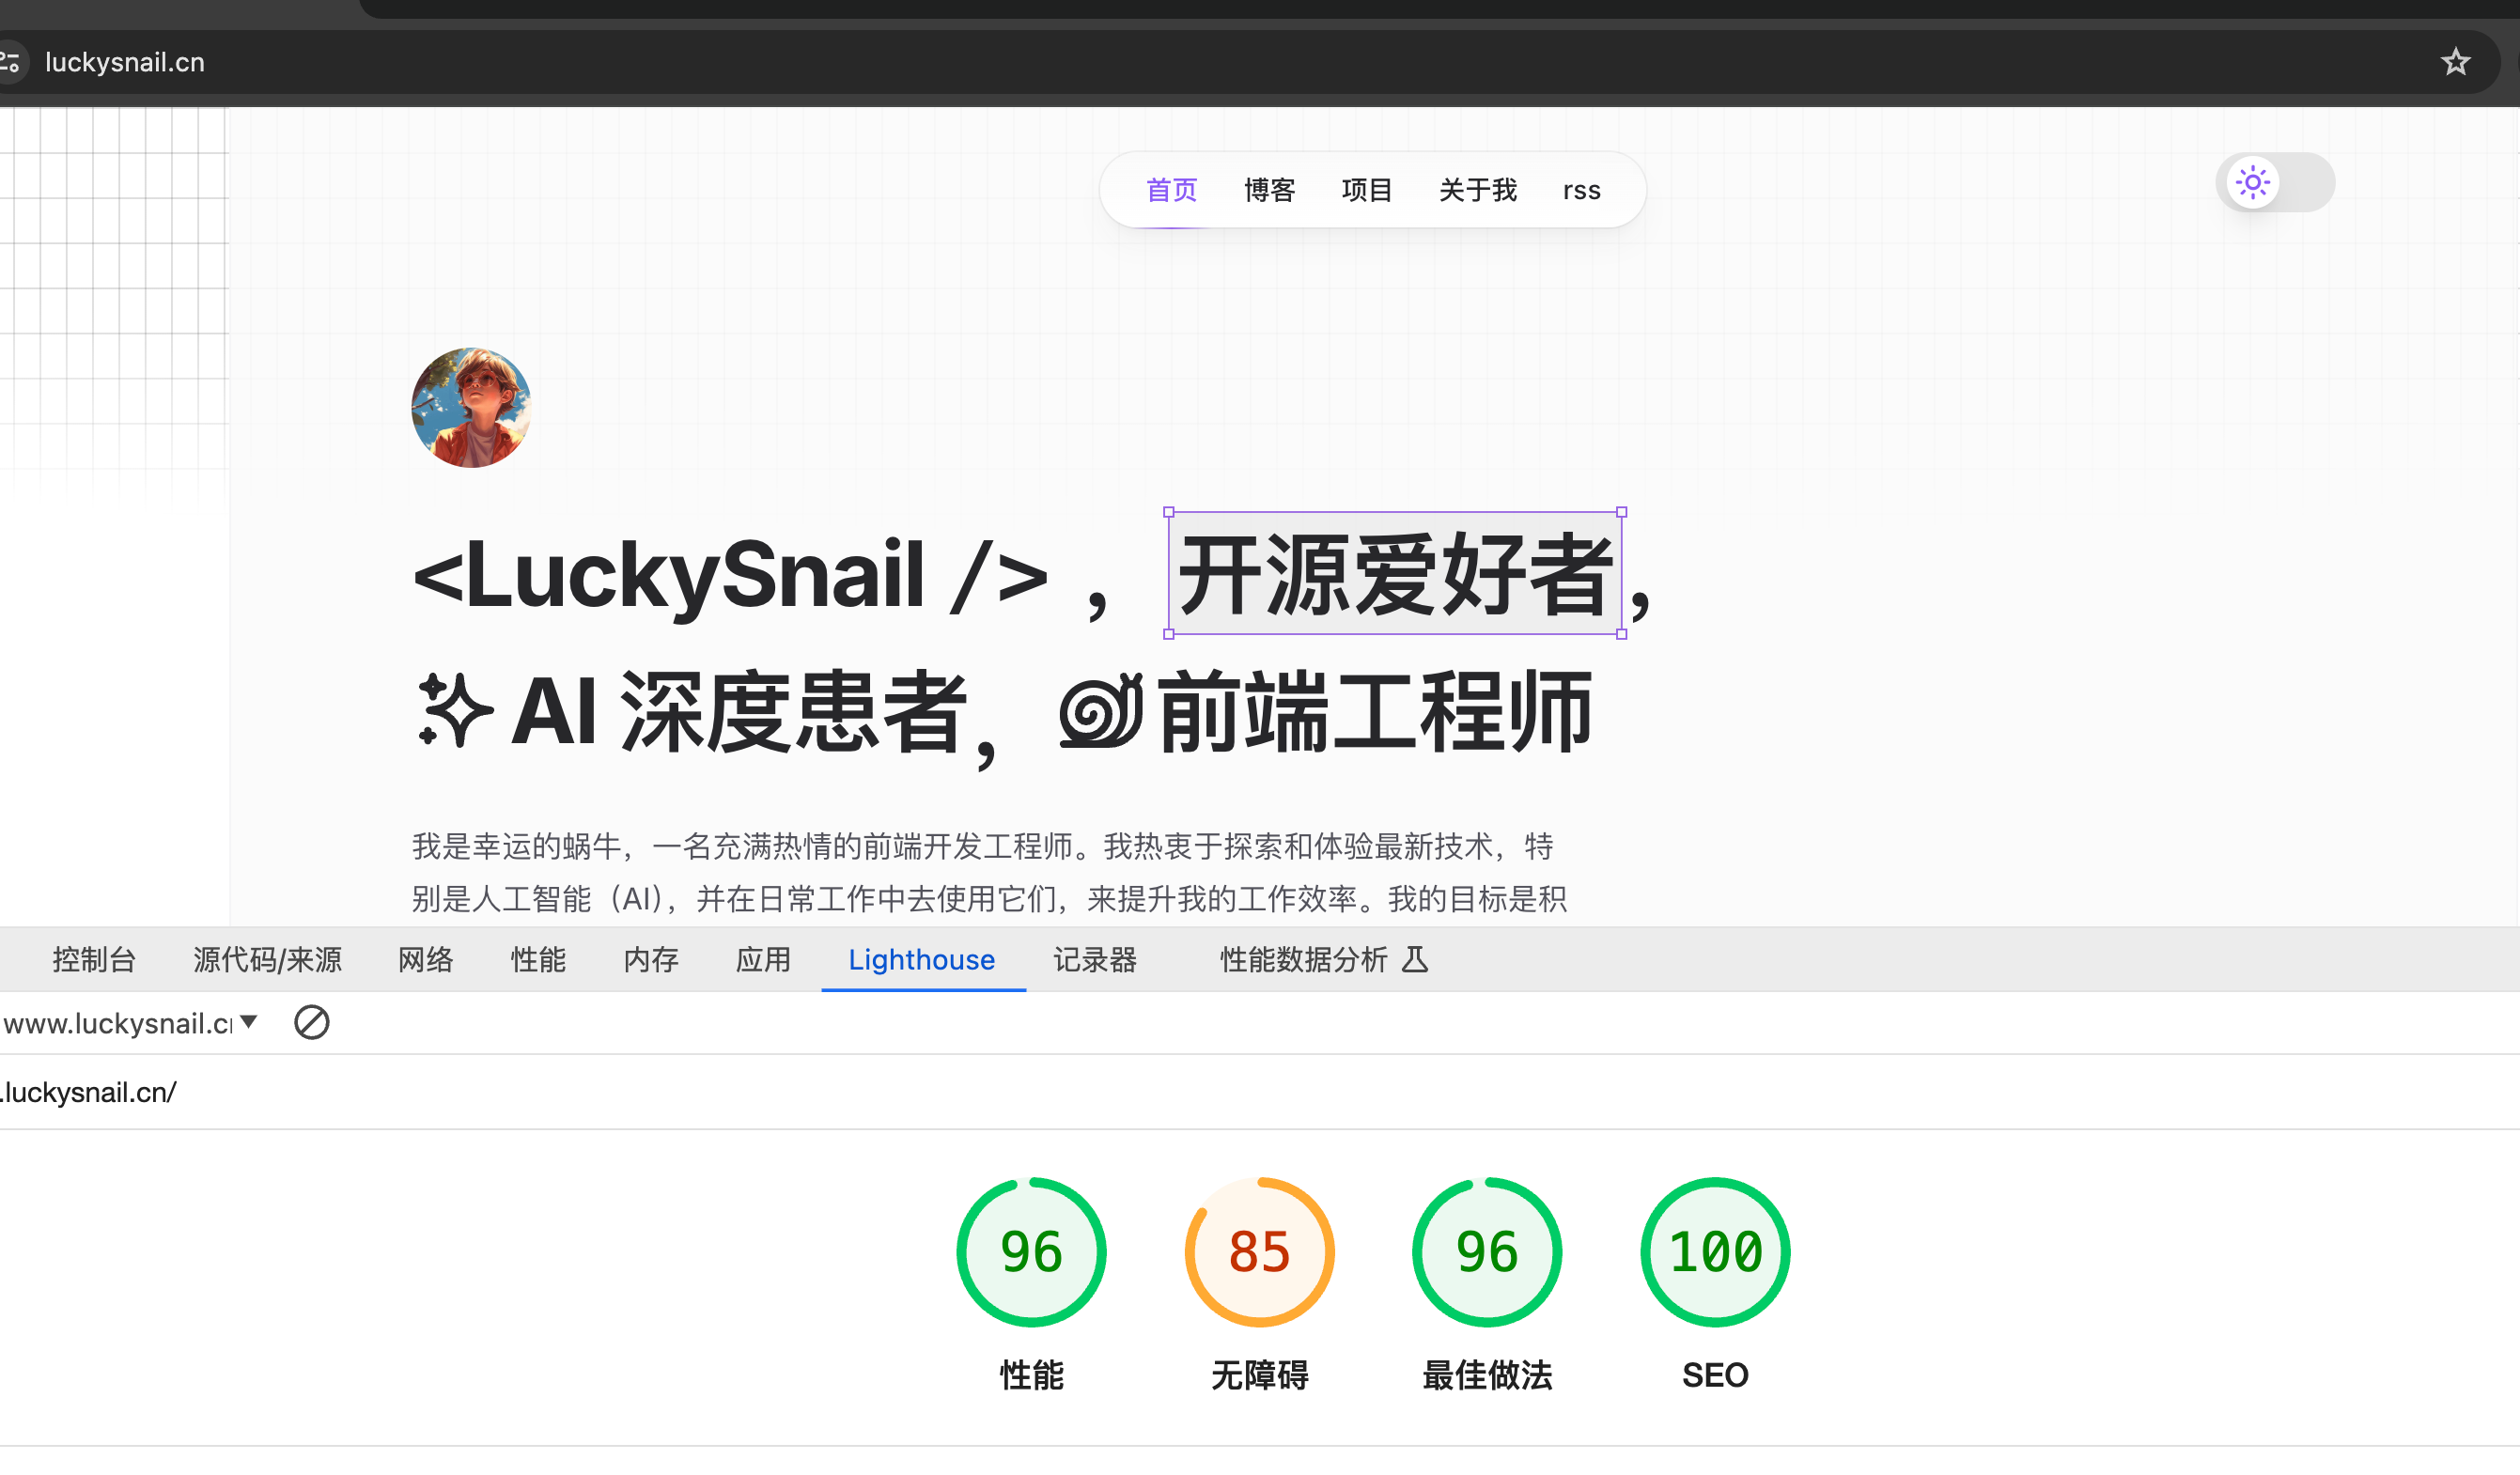
Pretty decent!
Tech Stack
I first created a clean base Next.js starter project, then built my blog on top of it. Here’s what technologies the blog uses:
- Next.js: React framework
- shadcn/ui: UI library
- tailwindcss: CSS framework for rapid responsive design (mobile-first)
- contentlayer: Content layer for fetching and rendering content.
- next-themes: Theme switching library.
- framer-motion: Adds animations to the site.
- ESLint + Prettier: Code formatting.
- husky: Git hooks management.
- lint-staged: Check staged files before commit.
- @commitlint/cli and @commitlint/config-conventional: Standardize commit messages.
- rss: Enables RSS subscription.
- github-api + fs-extra: Sync GitHub Issues content into the project as posts.
- gray-matter + reading-time + rehype-autolink-headings + rehype-prism-plus + rehype-slug + remark-gfm: Optimize blog rendering.
As you can see, all technologies and frameworks are mature and have active communities. If we run into any issues, we can quickly find solutions.
Project Overview
Since there’s no need for API calls, I currently export the project as a static site. This means we generate a static website. I’m deploying my blog on Vercel, which offers many benefits:
- Vercel provides seamless integration with GitHub. Just link your project to Vercel, and every push to the GitHub repo automatically builds and deploys the latest code. This automation greatly simplifies deployment, ensuring each commit is published automatically.
- Vercel uses a global CDN to accelerate static asset loading. No matter where users are, they can quickly access the site, improving user experience and performance.
- Vercel allows custom domain configuration with free HTTPS certificates. With a simple setup, you can deploy your project to your own domain and enjoy HTTPS for free. Sweet!
Using This Project to Build Your Own Blog
If you want to use this project as your own blog, it’s very simple — just three steps:
Fork the Project + Modify
- First, fork the project. Then go to
src/config/site.ts— all site meta info is stored there. Modify the content to your own. - Then create a
.envfile by copying.env.exampleand replace the corresponding values with your own. - Search globally for “luckysnail” (case-insensitive) and replace it with your own name.
- In
.github/workflows/sync-post.yml, changeuser.nameanduser.emailto your own. - I placed GitHub Issues posts in
data/blog, but I might have some posts not from GitHub Issues, which I placed underposts. You can delete mine and add your own. - In
package.json, update package info to your own. - In
publicandassets, replace static resources with your own.
After doing these steps, you’ll have your own blog. Now you can push the code, log in to Vercel, and deploy your blog. Deployment is very simple, but it’s best to first run it locally to see if it works. For Vercel deployment, refer to: https://juejin.cn/post/7143067114025254919. Once deployed, you should see something like this:
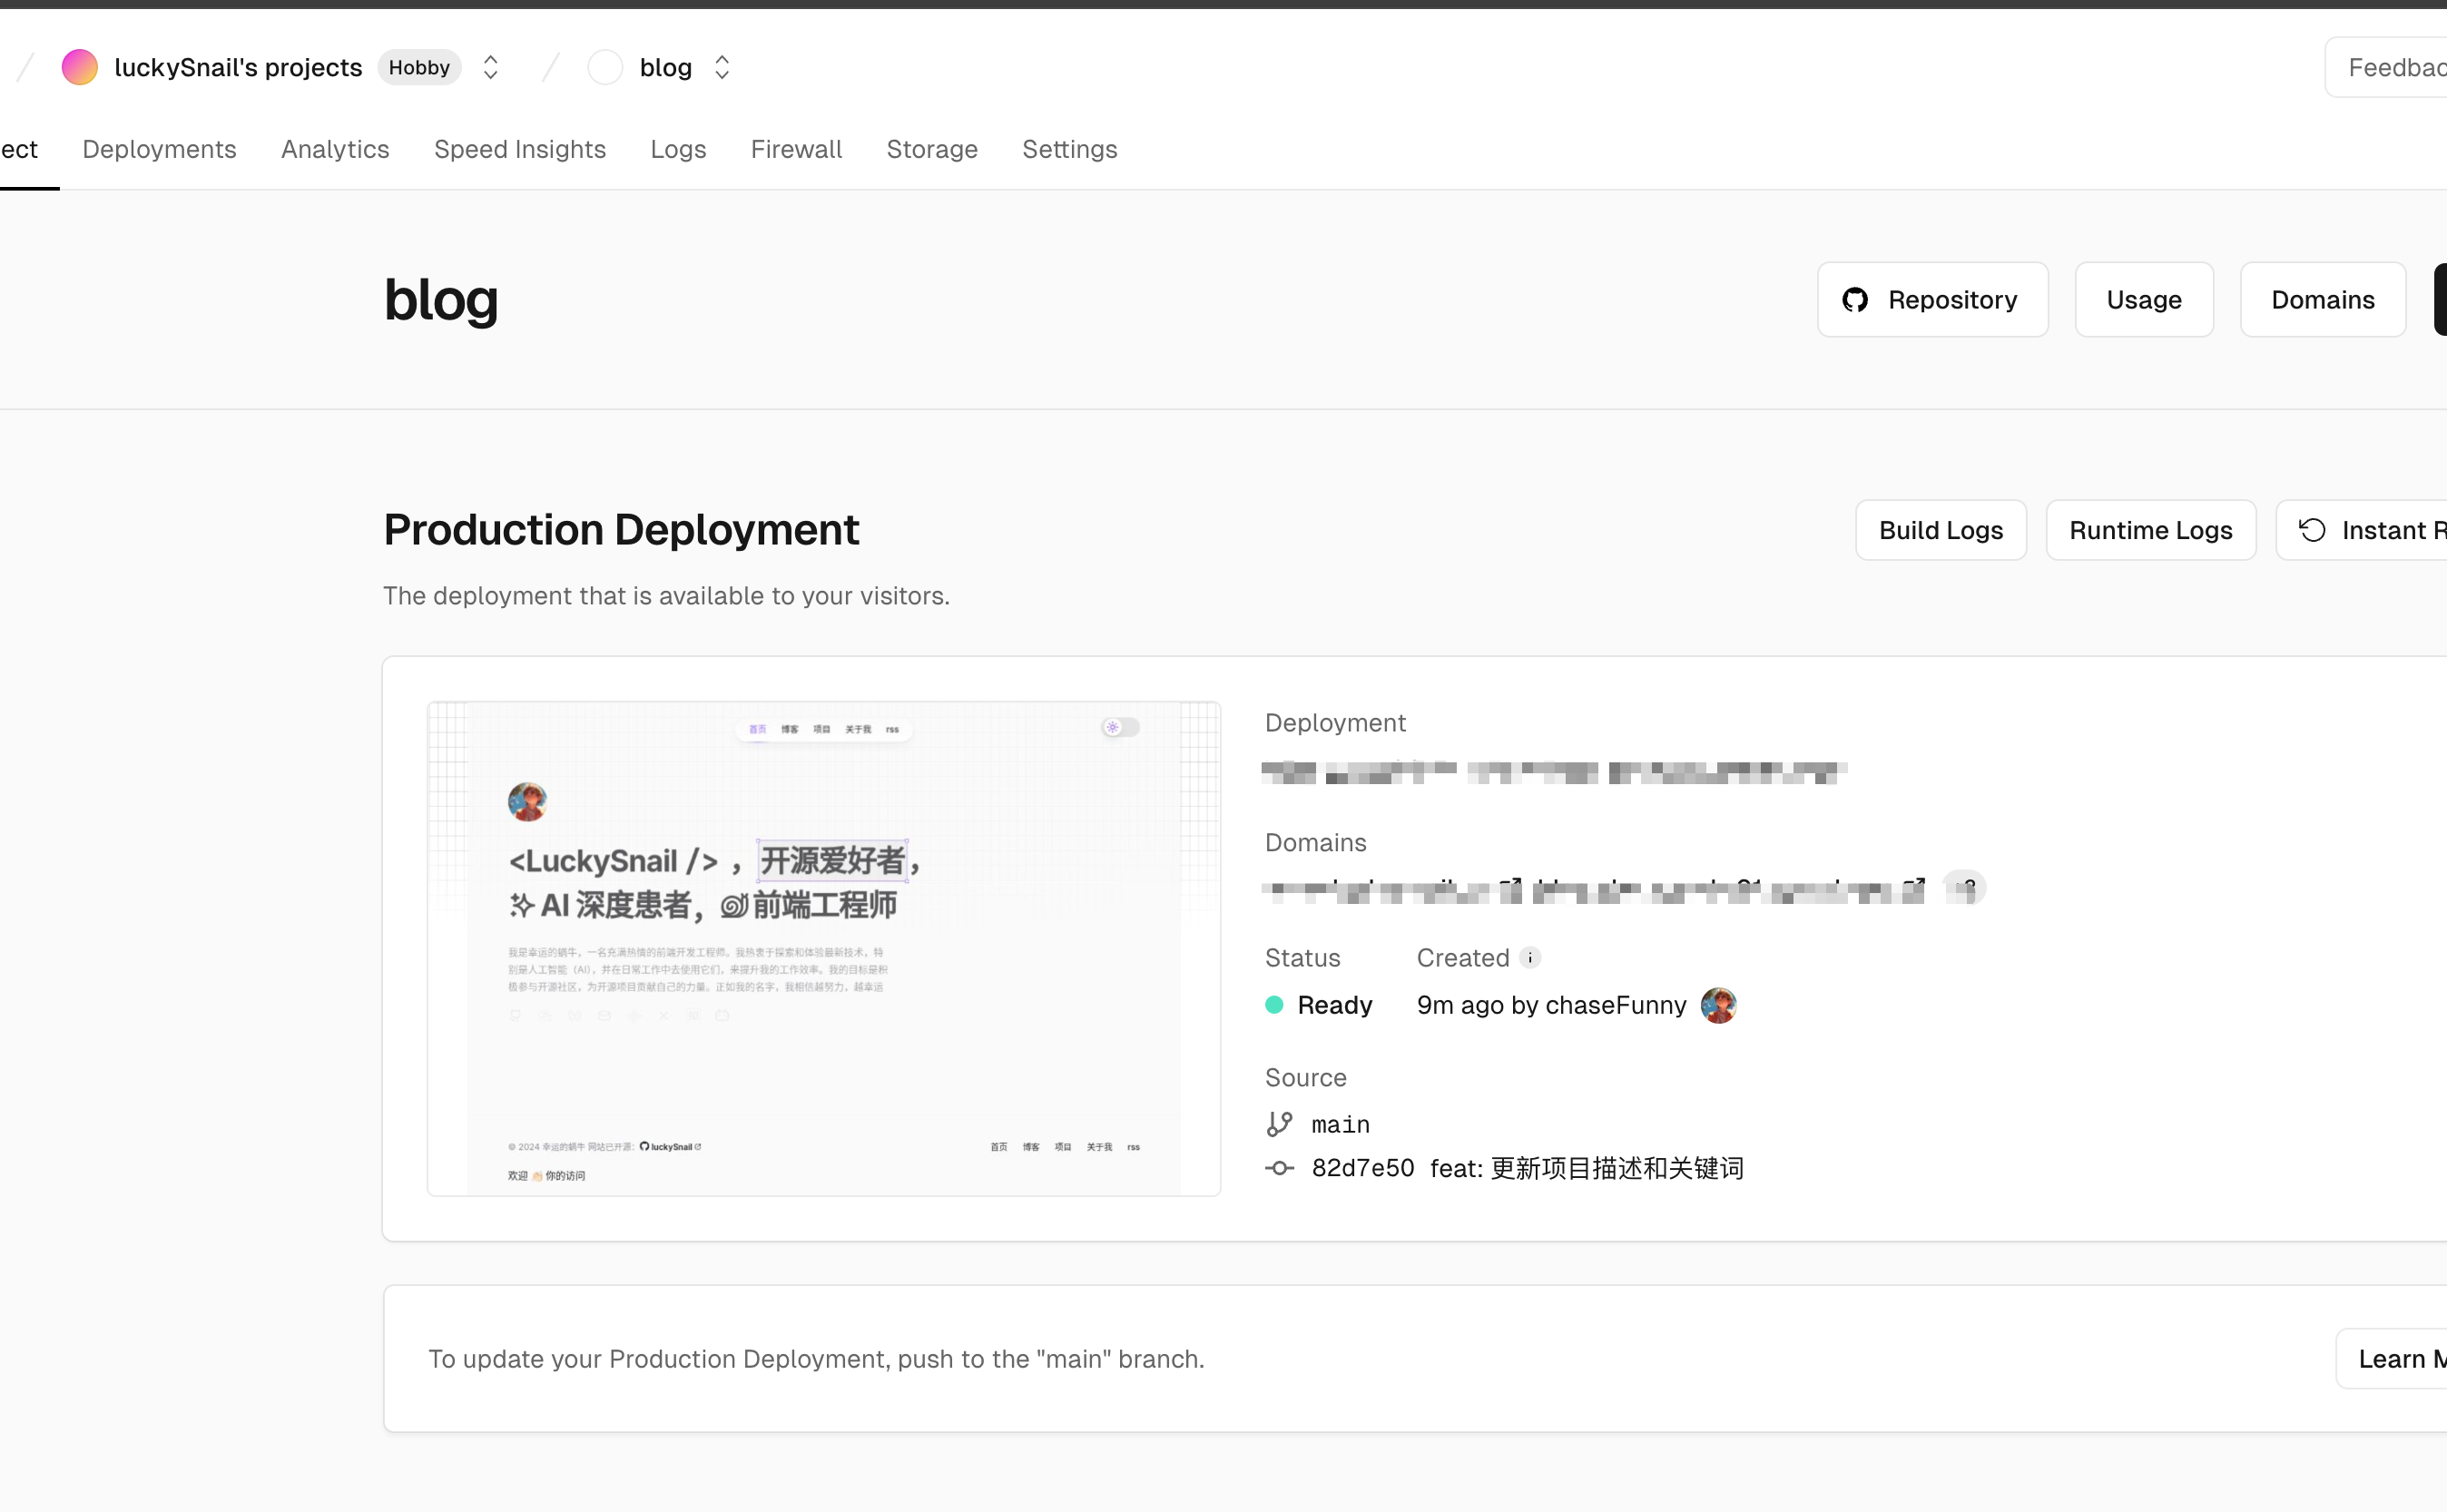
Vercel will provide three free domains. You can visit the link to see your blog on Vercel and share it. However, if your primary audience is in China, you’ll notice the site loads slowly. I recommend buying a domestic domain, binding it in the Settings > Domains section, and then accessing your blog via that domain — it’ll be much faster!
TODO
In the future, I plan to use Nest.js as a backend to add features like likes, visit counts, page views, post storage, comments, and message boards to my blog.
- Friend links
- Login
- Comments
- Message board
- Search 🔍
- Bookmarks
- Cross-platform post display
Thanks
Through this project, I not only built my own blog system but also deeply learned about Next.js, GitHub Actions, and Vercel deployment. I hope this article helps anyone who wants to set up their own blog. During the development of this blog, I referenced several blogs that I really liked. Thanks to them for being open source:
- The design and UI were largely inspired by:
https://cali.so/. It’s an open-source blog (mine is open source too!). - https://www.giscafer.com/
- https://innei.in/
- https://fuxiaochen.com/
- https://starter.weijunext.com/