Building a Full-Stack Chatbox Project from Scratch with Cursor
/ 12 min read /
Table of Contents 目录
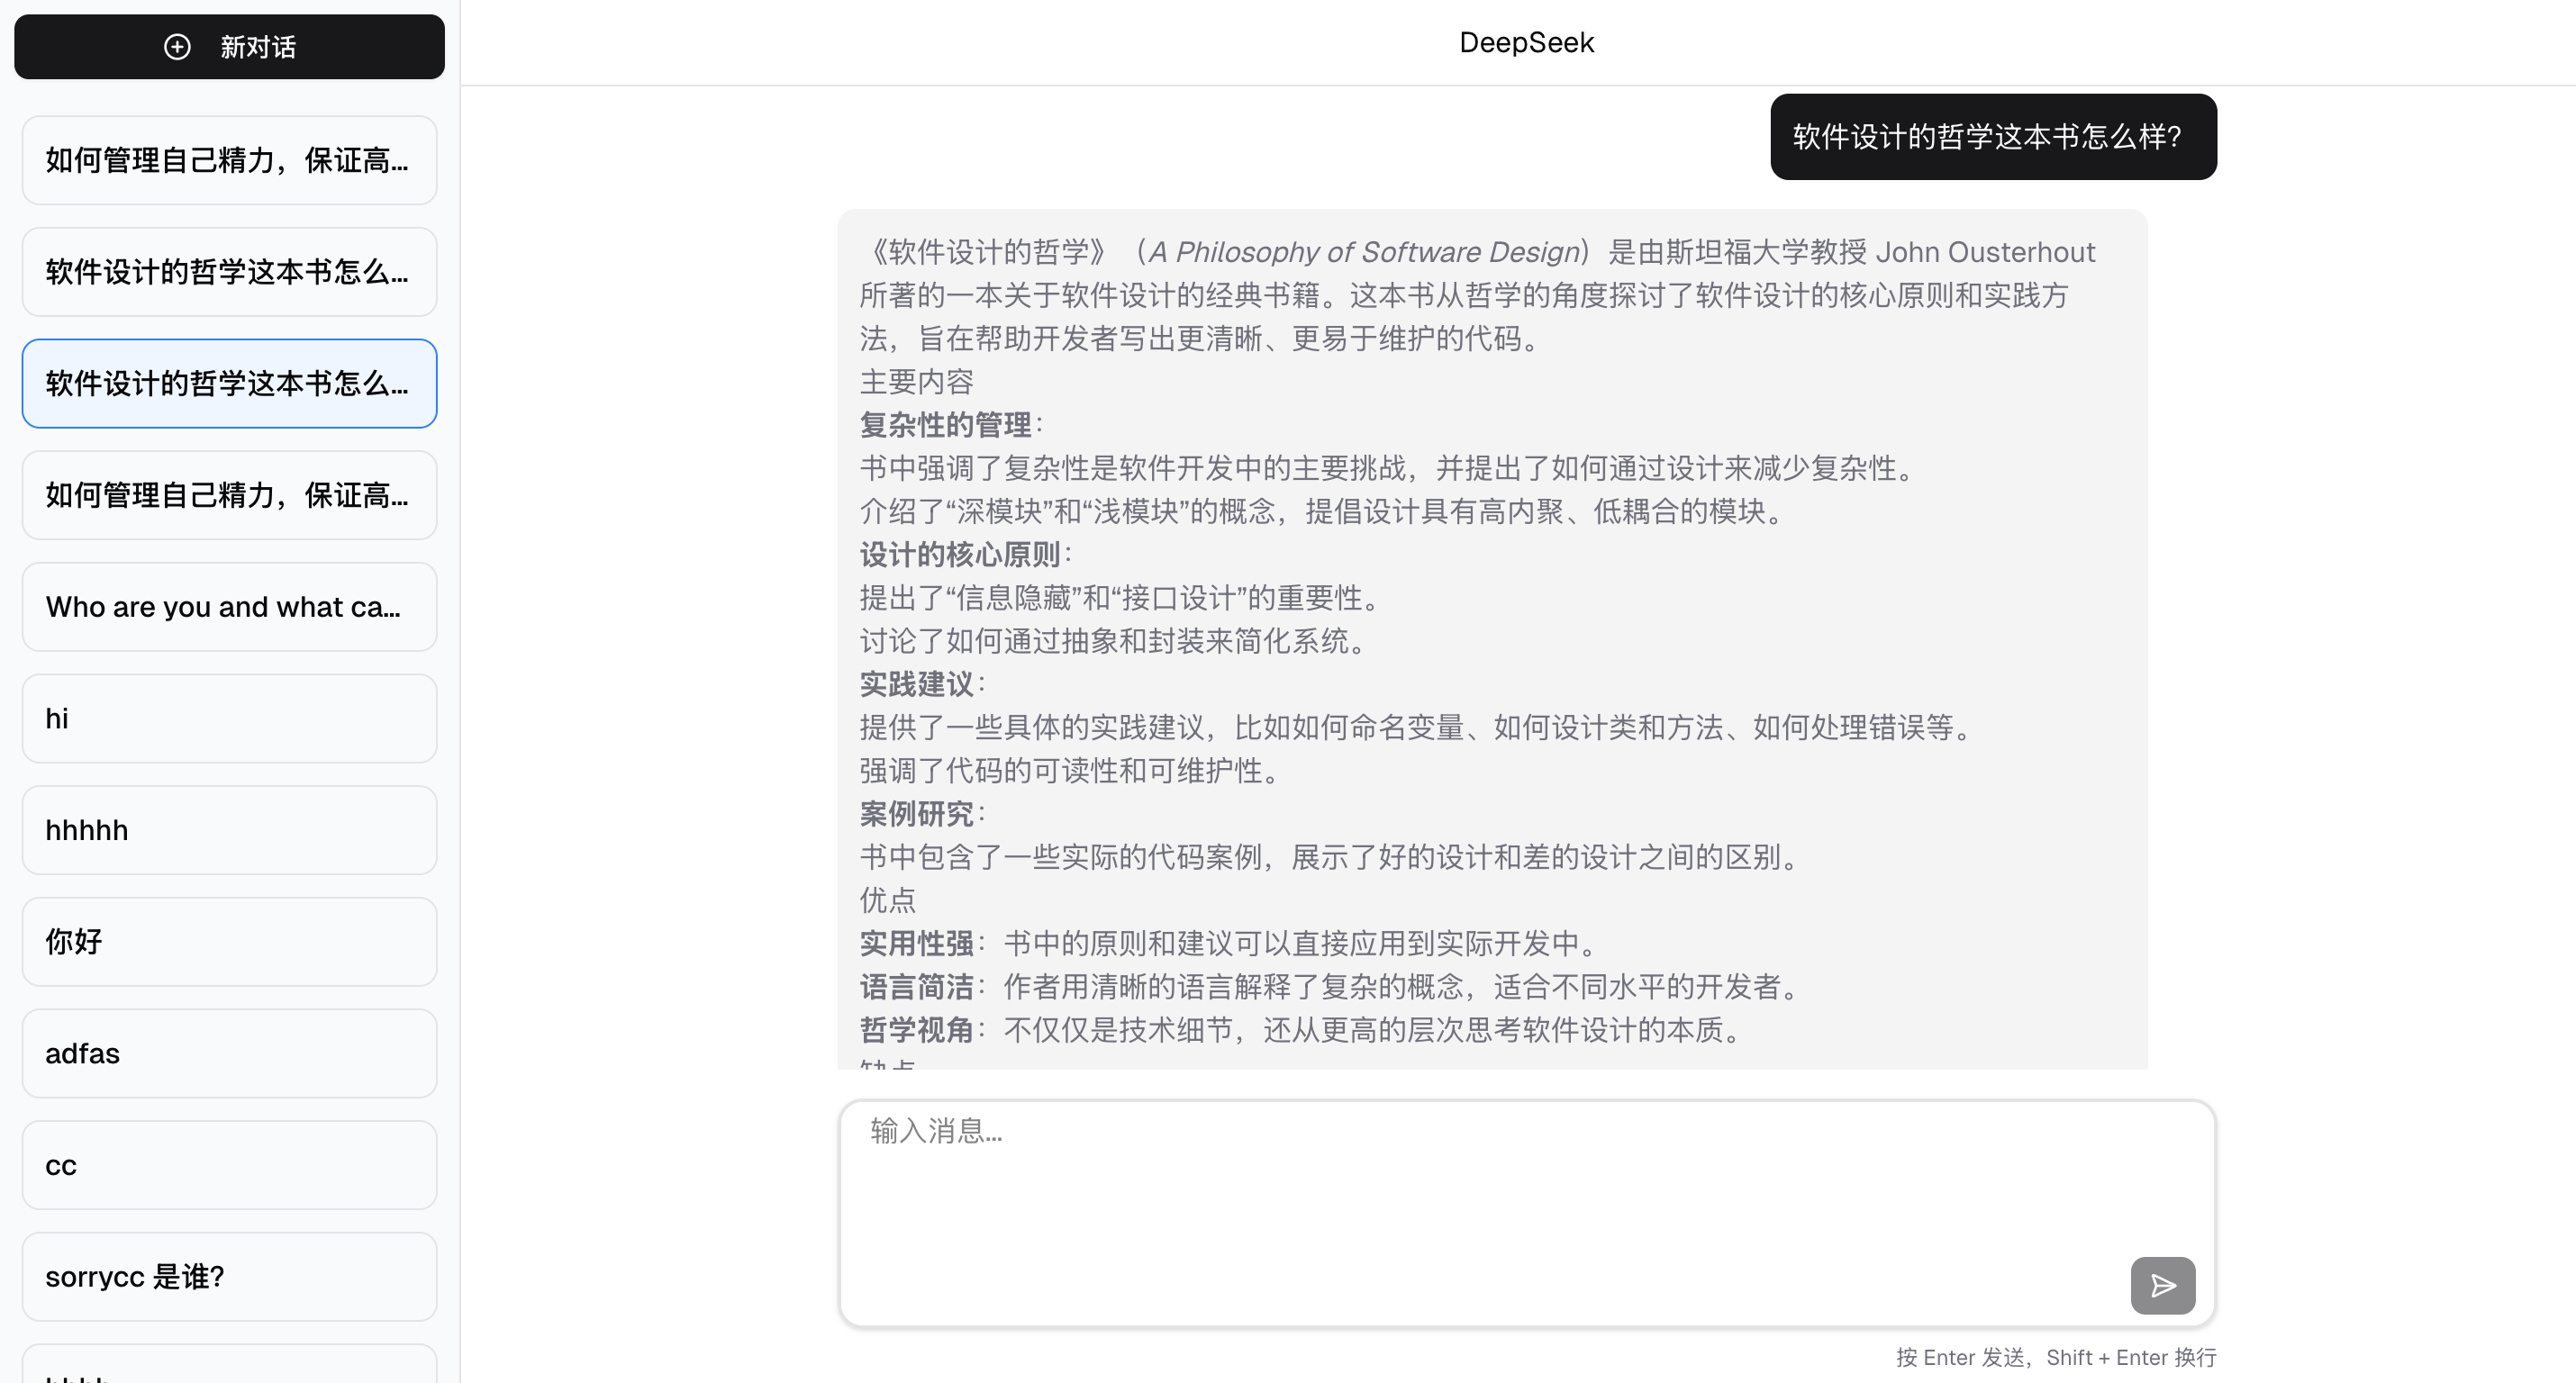
Hi, I’m luckySnail. You’ve probably used AI chat tools like Gemini, ChatGPT, Claude AI, etc. — asking questions via their web or mobile apps and getting answers. Before, building such an AI chat application would take a lot of time. But now, I’ll use Cursor + Vercel’s Next.js and ai-sdk to quickly build your own AI chat tool. Through this article, you’ll see AI’s powerful coding assistance and Vercel’s awesome tools! You’ll also learn how to use AI to build a web application from scratch. Check out the final product:
If you want to jump straight to the source code: https://github.com/coderPerseus/easyChat
I also used deepwiki to generate the project documentation: https://deepwiki.com/coderPerseus/easyChat
Environment Setup
Before development, your machine needs:
- Node >= 18.18, pnpm as the package manager
- PostgreSQL, either local or hosted
- Cursor, for AI-assisted coding
- Chrome browser (or any other browser)
You’ll need to know:
- Frontend basics
- Database basics
- Computer networking basics
- Familiarity with React development
You also need good software development practices — otherwise your code might be hard to maintain or understand.
Project Initialization
Before building, let’s do a requirements analysis and technology selection.
Requirements Analysis
- Chat page development (core ability)
- Input box for prompts, send/stop buttons
- Chat area to display conversation history, a list to show session history
- Develop
/agentAPI to handle requests - Persist every conversation’s data
- Stream all responses
- Advanced abilities
- Enhance the chat component: markdown rendering, auto-scroll, image upload, etc.
- Implement function calling, e.g., getting the current time
Technology Selection
Based on the requirements, I chose my favorite and mainstream technologies:
- Next.js as the full-stack framework
- hono.js as the backend framework, improving the backend development experience in Next.js
- PostgreSQL for storing conversation records
- DrizzleORM as the ORM for convenient and efficient database interaction
- shadcn/ui as the UI component library, tailwindcss as the CSS framework
- Vercel AI SDK for rapid AI service development — highly recommended if you’re building AI services, it can save you 80% of the work
- Biome for code formatting and linting (replacing ESLint + Prettier), make sure to install the Biome plugin
- zod: TypeScript-first data validation library
We’ll use GitHub for version control and Vercel for deployment.
Initialization
Now let’s initialize the project. After that, we can start building features.
- Create a Next.js project following the Next.js official docs:
npx create-next-app@latest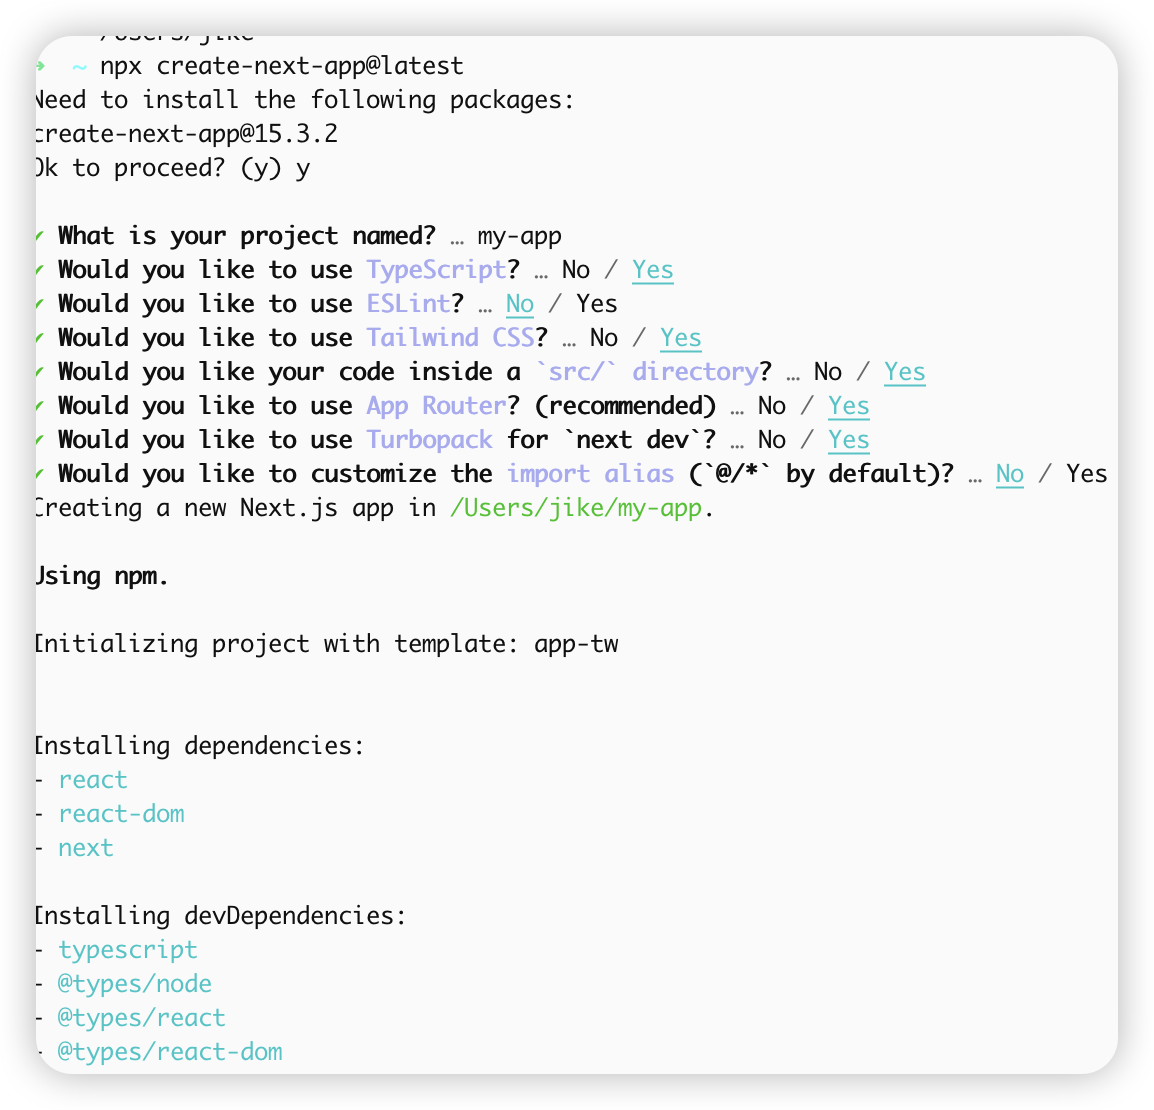
- Integrate shadcn/ui following the official docs:
pnpm dlx shadcn@latest initpnpm dlx shadcn@latest add button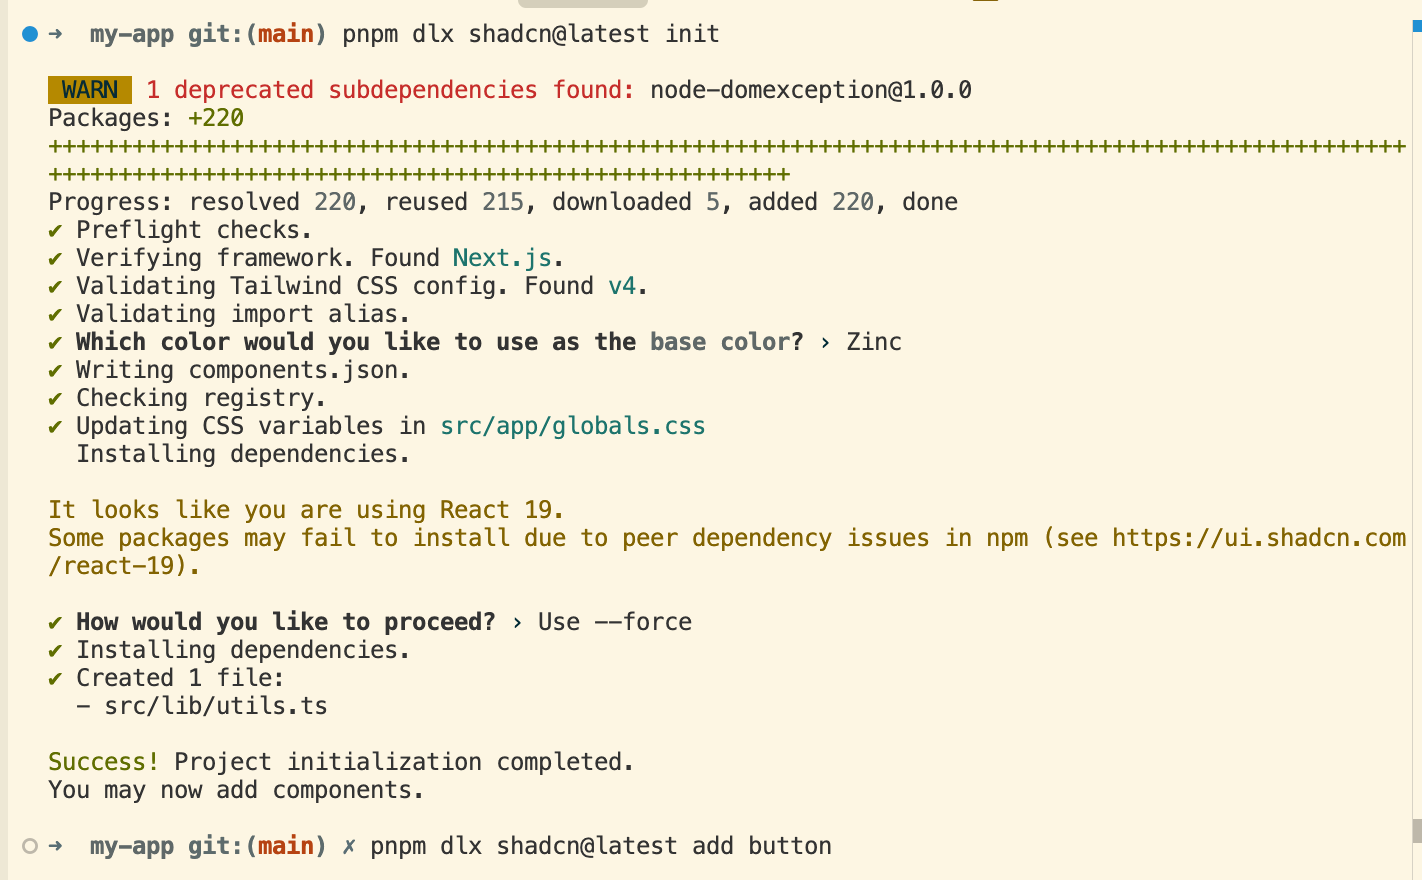
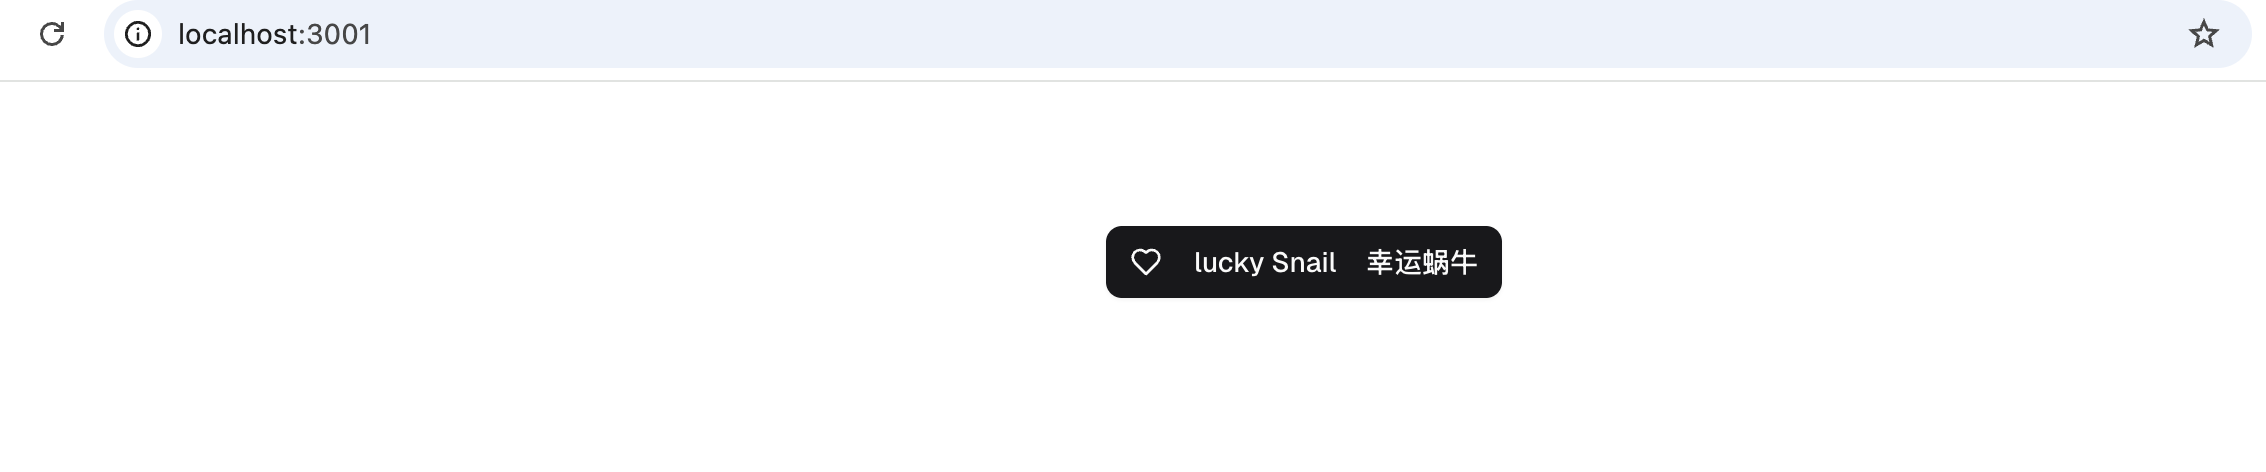
Then try using the Button component — it works!
Note: A small detail — I added
suppressHydrationWarningto the<body>tag in the layout component. It suppresses React’s hydration mismatch warnings, useful when content like dates or times may differ between server and client.
- Integrate Biome to keep code style consistent:
pnpm i @biomejs/biome -DAdd the corresponding scripts to package.json:
{ "scripts": { "lint": "next lint", "format": "biome format --write .", "lint:biome": "biome check --apply ." }}Now set your editor’s “Format Document With” to Biome as the default formatter. Your project now has formatting capabilities. You can also add pre-format and lint steps in the git commit chain to ensure committed code is formatted.
- Integrate hono.js — I referenced this article: https://kuizuo.cn/blog/nextjs-with-hono/. Install according to the official docs:
pnpm i hono# Let hono handle all API routesmkdir -p "src/app/api/[[...route]]" && touch "src/app/api/[[...route]]/route.ts"Write route.ts so hono takes over the API routes:
import api from "@/server/api";import { handle } from "hono/vercel";const handler = handle(api);export { handler as GET, handler as POST, handler as PUT, handler as DELETE, handler as PATCH,};Since Next.js automatically scans the app folder for hot updates, we can put server-side code in a server folder at the root (you can use any name). All server-side logic and routes go there. Let’s initialize the server-side basics.
- Create a custom validator — a utility for request data validation, ensuring data meets expected formats and types, with type-safe results:
import type {  Context,  MiddlewareHandler,  Env,  ValidationTargets,  TypedResponse,  Input,} from "hono";import { validator } from "hono/validator";import type { z, ZodSchema, ZodError } from "zod";
export type Hook<  T,  E extends Env,  P extends string,  Target extends keyof ValidationTargets = keyof ValidationTargets,  // biome-ignore lint/complexity/noBannedTypes: <explanation>  O = {}> = (  result: (    | { success: true; data: T }    | { success: false; error: ZodError; data: T }  ) & {    target: Target;  },  c: Context<E, P>) =>  | Response  | void  | TypedResponse<O>  // biome-ignore lint/suspicious/noConfusingVoidType: <explanation>  | Promise<Response | void | TypedResponse<O>>;
type HasUndefined<T> = undefined extends T ? true : false;
export const zValidator = <  T extends ZodSchema,  Target extends keyof ValidationTargets,  E extends Env,  P extends string,  In = z.input<T>,  Out = z.output<T>,  I extends Input = {    in: HasUndefined<In> extends true      ? {          [K in Target]?: K extends "json"            ? In            : HasUndefined<keyof ValidationTargets[K]> extends true            ? { [K2 in keyof In]?: ValidationTargets[K][K2] }            : { [K2 in keyof In]: ValidationTargets[K][K2] };        }      : {          [K in Target]: K extends "json"            ? In            : HasUndefined<keyof ValidationTargets[K]> extends true            ? { [K2 in keyof In]?: ValidationTargets[K][K2] }            : { [K2 in keyof In]: ValidationTargets[K][K2] };        };    out: { [K in Target]: Out };  },  V extends I = I>(  target: Target,  schema: T,  hook?: Hook<z.infer<T>, E, P, Target>): MiddlewareHandler<E, P, V> =>  // @ts-expect-error not typed well  validator(target, async (value, c) => {    const result = await schema.safeParseAsync(value);
    if (hook) {      const hookResult = await hook({ data: value, ...result, target }, c);      if (hookResult) {        if (hookResult instanceof Response) {          return hookResult;        }
        if ("response" in hookResult) {          return hookResult.response;        }      }    }
    if (!result.success) {      throw result.error;    }
return result.data as z.infer<T>; });- Create an error handling file to give better error messages to the client:
import { z } from "zod";import type { Context } from "hono";import { HTTPException } from "hono/http-exception";import type { ContentfulStatusCode } from "hono/utils/http-status";
export class ApiError extends HTTPException {  public readonly code?: ContentfulStatusCode;  constructor({    code,    message,  }: {    code?: ContentfulStatusCode;    message: string;  }) {    super(code, { message });    this.code = code;  }}
export function handleError(err: Error, c: Context): Response {  if (err instanceof z.ZodError) {    const firstError = err.errors[0];
    return c.json(      { code: 422, message: `\`${firstError.path}\`: ${firstError.message}` },      422    );  }
  /**   * This is a generic error, we should log it and return a 500   */  return c.json(    {      code: 500,      message: "Server error, please try again later.",    },    { status: 500 }  );}
Now create our first route to verify honojs integration:
import { Hono } from "hono";const app = new Hono().get("/hello", (c) => c.json({ message: "Hello, luckyChat" }));export default app;- Finally, create the entry file:
import { handleError } from "./error";import { Hono } from "hono";import helloRoute from "./routes/hello";const app = new Hono().basePath("/api");app.onError(handleError);const routes = app.route("/", helloRoute);export default app;export type AppType = typeof routes;Now we have not only routes but also type declarations for the server-side API. We can easily make type-safe requests from the client — no need to write routes or types manually. Amazing! Let’s call the first route from the client. Before that,
- Wrap a fetch method:
import type { AppType } from "@/server/api";import { hc } from "hono/client";import ky from "ky";
const baseUrl =  process.env.NODE_ENV === "development"    ? "http://localhost:3000"    : process.env.NEXT_PUBLIC_APP_URL;
export const fetch = ky.extend({  hooks: {    afterResponse: [      async (_, __, response: Response) => {        if (response.ok) {          return response;          // biome-ignore lint/style/noUselessElse: <explanation>        } else {          throw await response.json();        }      },    ],  },});
export const client = hc<AppType>(baseUrl as string, {  fetch: fetch,});
ky is a lightweight HTTP client based on the native Fetch API, providing a cleaner interface. Using hc and AppType creates a type-safe request method:
import { Button } from "@/components/ui/button";import { Heart } from "lucide-react";import { client } from "@/lib/fetch";async function getData() { try { const res = await client.api.hello.$get(); if (!res.ok) { // This will activate the closest `error.js` Error Boundary throw new Error("Failed to fetch data"); } return res.json(); } catch (error) { console.error("Failed to fetch data:", error); return { message: "AI Assistant" }; }}export default async function Home() { const { message } = await getData(); return ( <div> <div>{message}</div> <Button> <Heart className="mr-2 h-4 w-4" /> lucky Snail </Button> </div> );}When using client, you get code suggestions for available routes. Later, you can use InferResponseType and typeof to extract the corresponding TypeScript types — just define types on the server and consume them on the client 👍.
- Now the most important step: database initialization. Experienced developers know that good database design can greatly reduce system complexity. For something this important, we definitely need AI’s help. Let’s give the requirements to AI and let it help with preliminary database design. Ask in Cursor:
Prompt: Now integrate DrizzleORM and AI SDK. Use PostgreSQL as the database, with the "postgres" driver. The database name is "chatAI". There is only one table to store AI conversation records. Design a good database table structure. Finally, develop the /agent API to handle chat requests. Use Deepseek as the LLM, with the API key stored in the environment variable DEEPSEEK_API_KEY. For database integration, refer to @https://orm.drizzle.team/docs/get-started-postgresql. First, sort out the requirements, then implement step by step.The AI gave the following database structure:
import { pgTable, serial, text, timestamp, varchar } from 'drizzle-orm/pg-core';
// Chat message typeexport const chatMessages = pgTable('chat_messages', {  id: serial('id').primaryKey(),  sessionId: varchar('session_id', { length: 255 }).notNull(),  role: varchar('role', { length: 50 }).notNull(), // 'user' or 'assistant'  content: text('content').notNull(),  createdAt: timestamp('created_at').defaultNow().notNull(),});
// Session informationexport const chatSessions = pgTable('chat_sessions', {  id: serial('id').primaryKey(),  sessionId: varchar('session_id', { length: 255 }).unique().notNull(),  title: varchar('title', { length: 255 }),  createdAt: timestamp('created_at').defaultNow().notNull(),  updatedAt: timestamp('updated_at').defaultNow().notNull(),});
AI helped create the database table structure — it understood the requirements and gave a reasonable design:
chat_sessionstable: stores chat session infochat_messagestable: stores chat messages
It also added scripts for generating and running migrations in package.json. Configure DATABASE_URL in env and run the scripts to initialize the database.
Now that the project initialization is done, we can use Cursor’s /generate Cursor Rules to create project development guidelines. In later feature development, we’ll include these rules each time — they help AI generate better content.

Now we have the frontend and backend foundations, plus the project rules. From here on, we’ll let AI handle the feature development. We just need to be a good tester and code reviewer!
Core Feature Development
The core of a chat app: input prompt → LLM response → display content → continue conversation.
- Develop chat. Prompt:
@project-structure.mdcis the project rule file we generated.
@project-structure.mdc Use ai-sdk to develop the /agent API for handling chat requests, following RESTful API style. Use Deepseek as the LLM, with the API key stored in DEEPSEEK_API_KEY environment variable. Then develop the corresponding chat page with an input box, send and pause buttons on the right, support user input, send/stop capability. Use @ai-sdk/react for rapid development, streaming AI-generated content. Code should be componentized and modular, using shadcn/ui components as much as possible. First sort out requirements, then implement step by step.AI may take a while to complete this. While waiting, you can think about the next prompt. After AI finishes, we need to review and fix bugs — you can use AI to fix errors too. Note: when the chat is interrupted, we should store the already generated content in the database.
- Develop the ability to create a new session, with session caching in localStorage:
@project-structure.mdc Support creating a new session, storing the session ID in localStorage. The session ID persists on page refresh. Note: when the stop button is clicked, the current session should be saved.- Develop a list of historical sessions, with switching support:
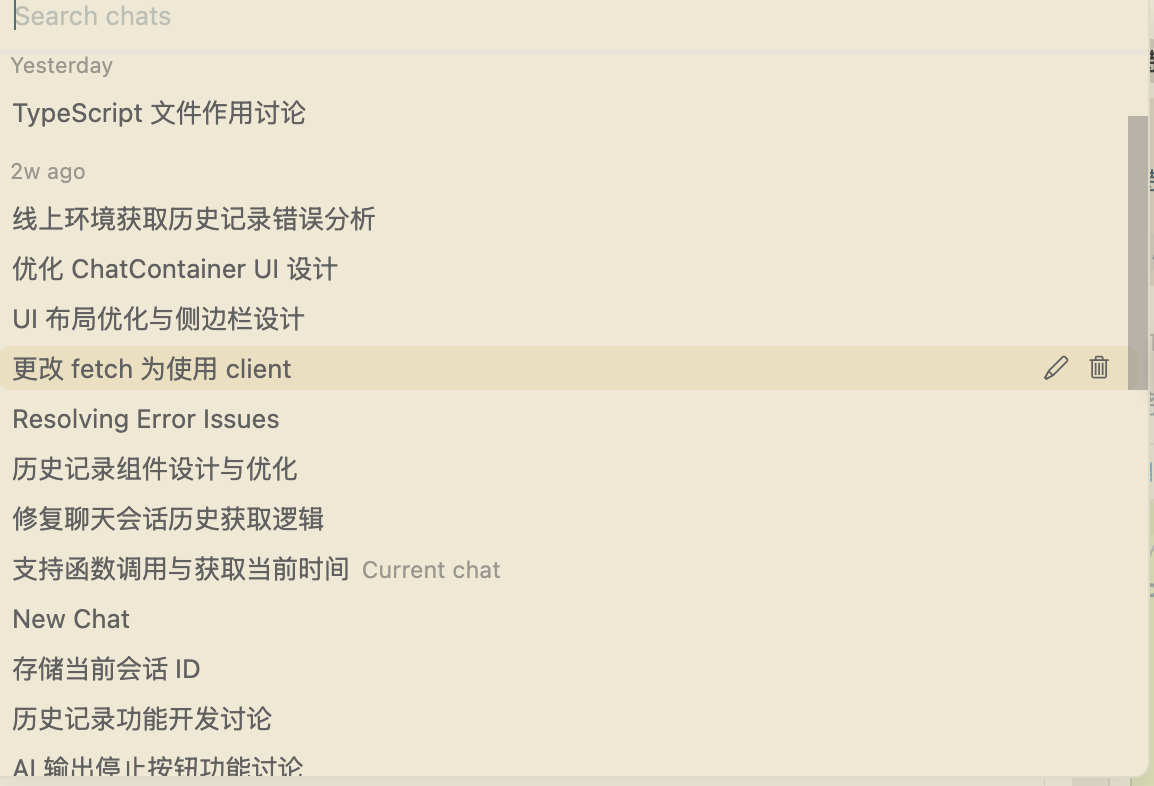
@project-structure.mdc Develop the history conversation list feature. First develop the API — two endpoints: get all session list and get session info by ID. On the frontend, encapsulate the session list as a separate component. Clicking a session item navigates to that conversation. Use custom hooks for data fetching logic to keep code clean and understandable. Note: the client should use the wrapped `client` from `fetch.ts` for API requests.- Support markdown rendering of AI content, optimize page layout UI, enable auto-scroll to bottom.
After the above, we have a basic chat page, but it might look ugly. Let’s optimize:
@project-structure.mdc You are a senior UI designer. Optimize the project:1. Implement markdown rendering of streamed content. Add auto-scroll-to-bottom in the conversation.2. Optimize the current page UI: layout as left sidebar (history and new conversation) and right chat area. Hide the sidebar when screen width is less than tailwindcss's "lg". Also optimize the right dialog UI. Do not add new elements or change logic — only adjust layout and UI. Refer to excellent chatbox UI designs.- Support function calling, e.g., get current time:
@project-structure.mdc @web Refer to docs to support function calling, using getting the current time as an example.Optimization
If you’ve made it this far, there are probably still some bugs and UI details to polish. You can optimize together with AI. Here’s a snippet of my chat with AI:
After continuous fixes and optimizations, my chatbox appeared!
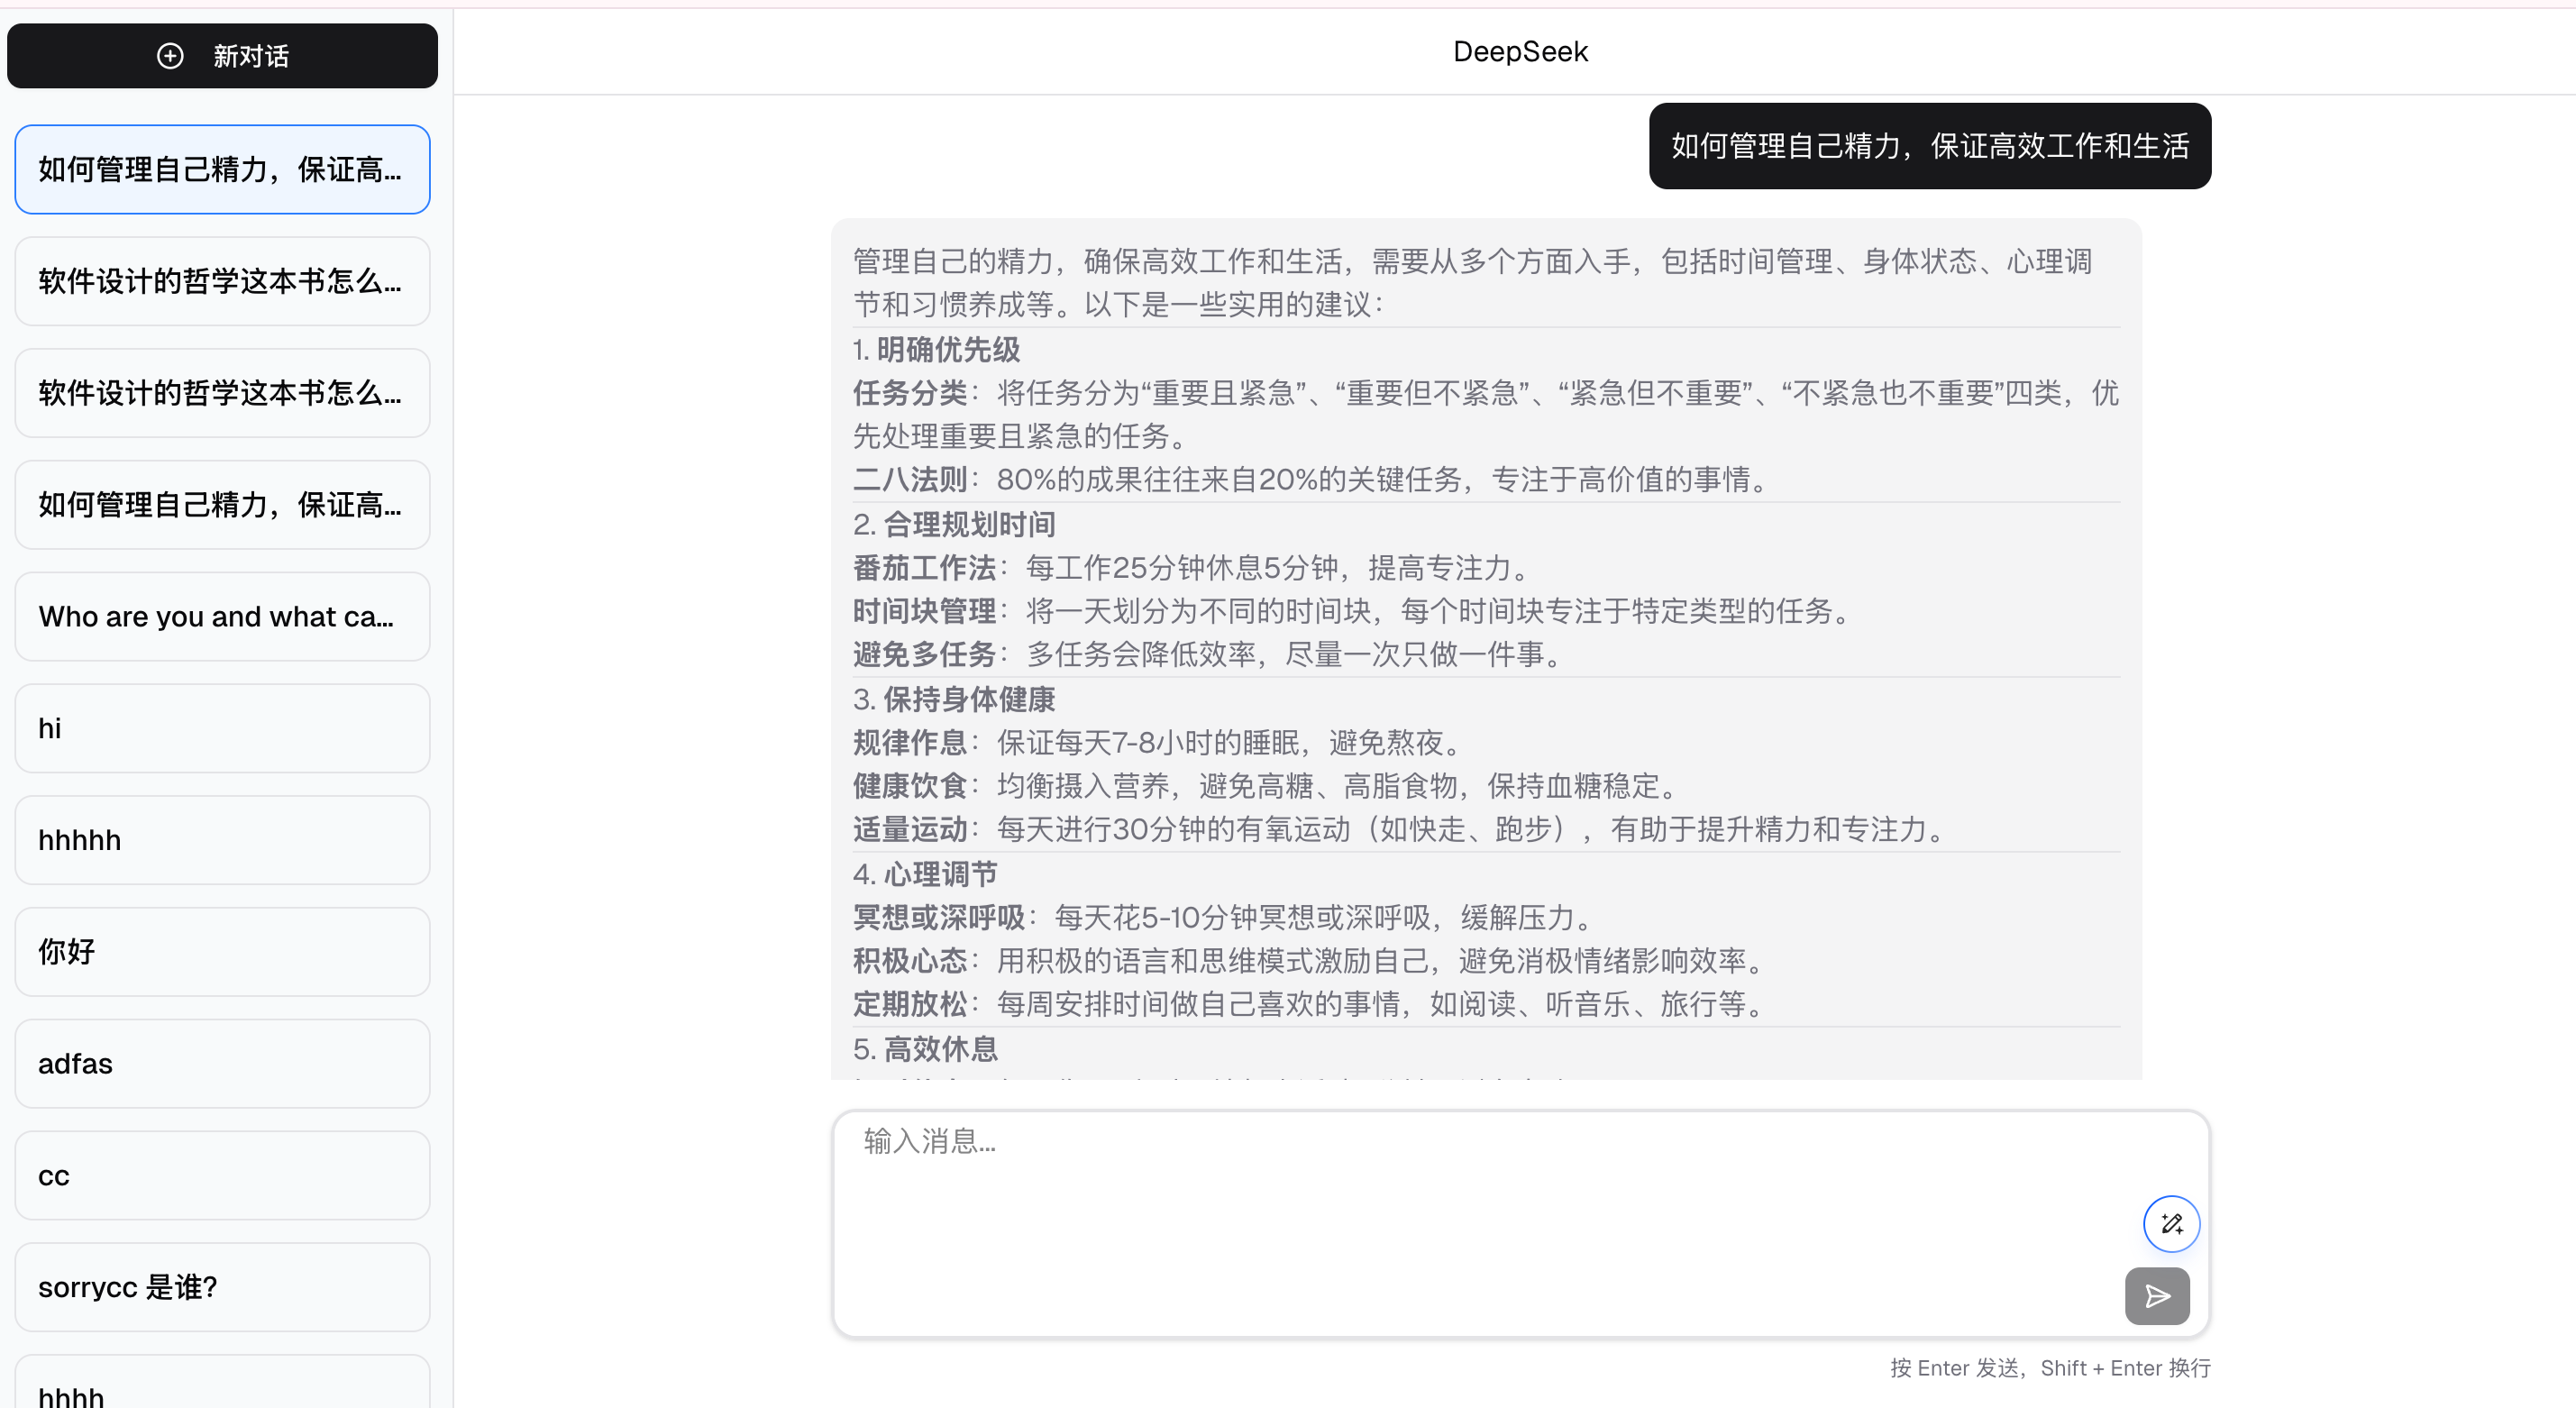
What would you rate it?
Summary
- AI’s coding ability has surpassed 90% of engineers. It’s very thorough in terms of functionality, security, and compatibility. But it has limits — it’s not as good as humans at handling complex systems or strange requirements. Programmers will act more as decision-makers, bridging AI and requirements, using our experience and intuition to accept or reject AI’s output.
- In daily AI-assisted development, I recommend using Gemini for design and documentation, and Claude for code.
- We need to be able to properly split modules and recognize whether AI-generated code is reasonable.
- System design is a must-have skill for programmers in the AI era. Recommended book: A Philosophy of Software Design (2nd edition).
- Broad knowledge and full-stack ability greatly benefit frontend developers. Using AI to quickly turn ideas into reality is a programmer’s advantage.
- Continuous learning and staying up-to-date with AI is key to staying competitive.
- Vibe Coding is inevitably becoming the new coding paradigm. Pure manual coding will become history, like PHP.
- So far, AI agents for coding are really successful — they let ordinary people like me quickly build products.