How to Deploy This Blog Project on Your Own Server
/ 4 min read /
Table of Contents 目录
How to Deploy a Next.js Static Project on a Server
Background
I’ve been working on a personal blog recently. Initially, I deployed it on Vercel with CI/CD auto-detecting updates and publishing. But accessing it from Vercel was sometimes slow, so I decided to deploy it on my own server. If you also need to deploy a Next.js static project on a server, this article will help you. I’ll walk through the entire deployment process from scratch, and at the end, I’ll share some pitfalls I encountered.
Prerequisites
Before we start, make sure you have the following:
- A server
- The source code of a project that builds and runs successfully
- A domain name (optional)
- An SSL certificate (optional)
Let’s get started!
Install Baota (BT Panel)
I bought an Alibaba Cloud server. For instructions on how to install Baota on Alibaba Cloud, refer to: https://www.yuque.com/asgas/bzyz7m/eepyb1hynvvhmvmg
If you’re using another cloud provider, you can search on Baidu – the process is largely the same.
Once installed, open the Baota panel.
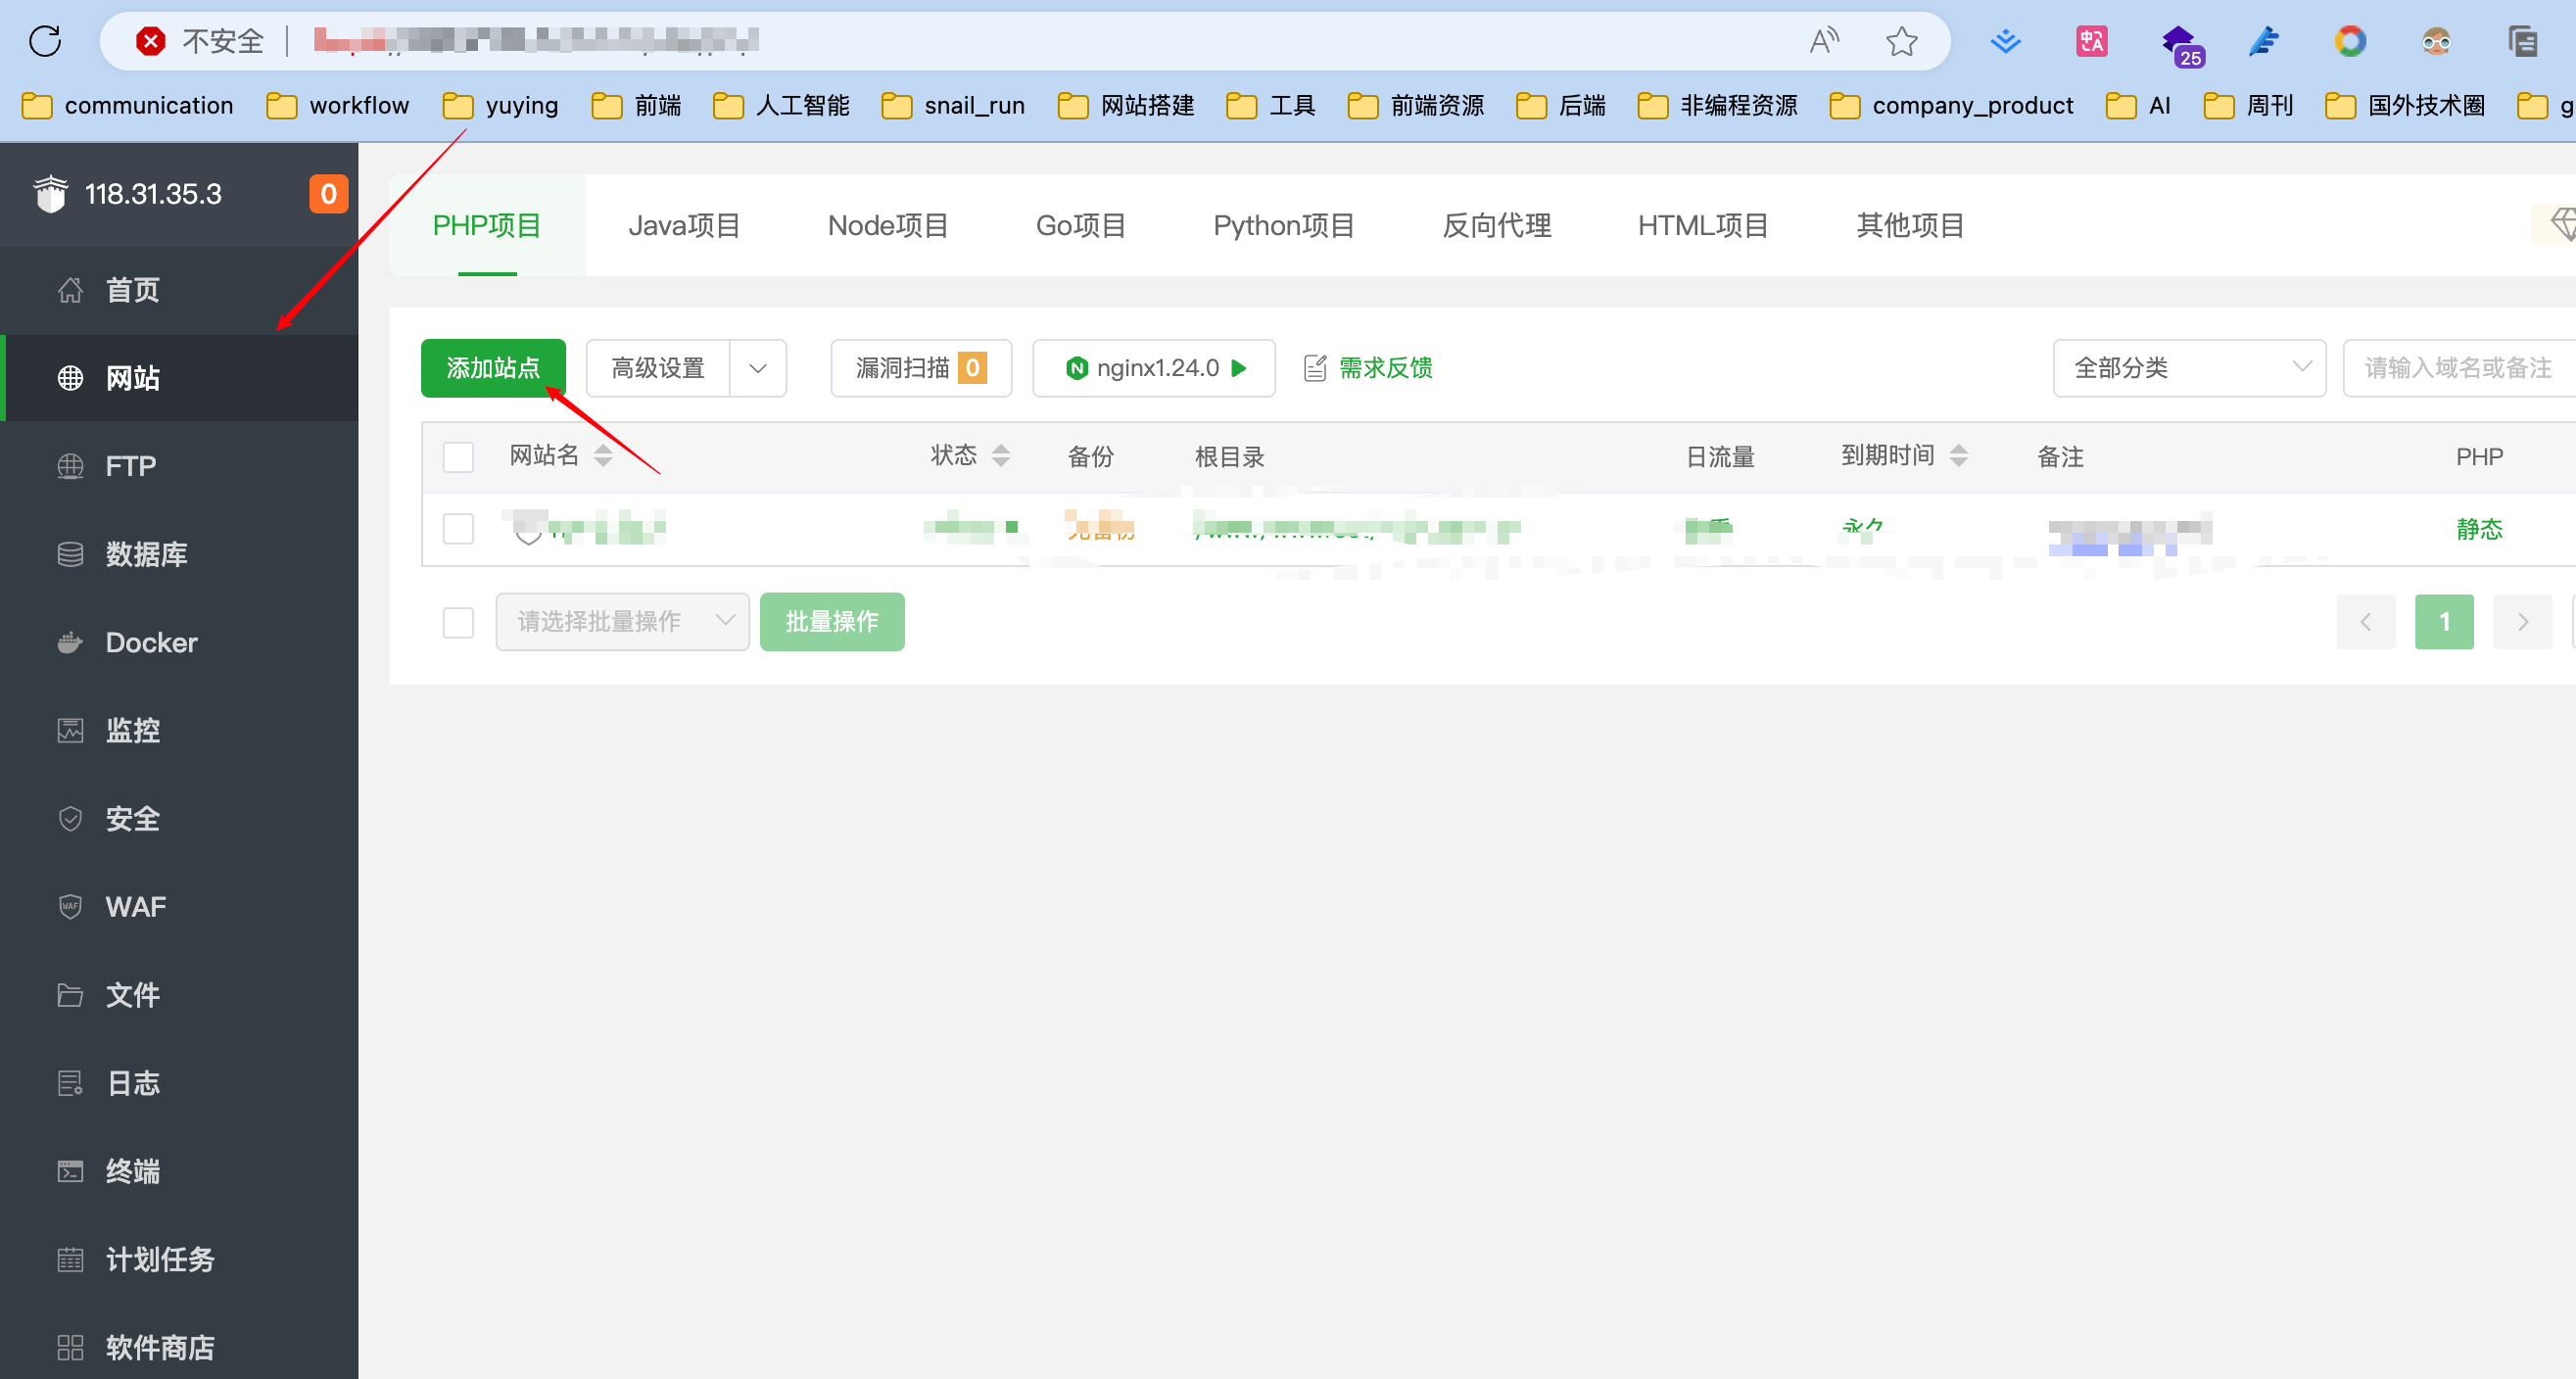
Then click Add Site and fill in the site details. We’ll need Nginx – if you don’t have it, install it now because we’ll use it later.
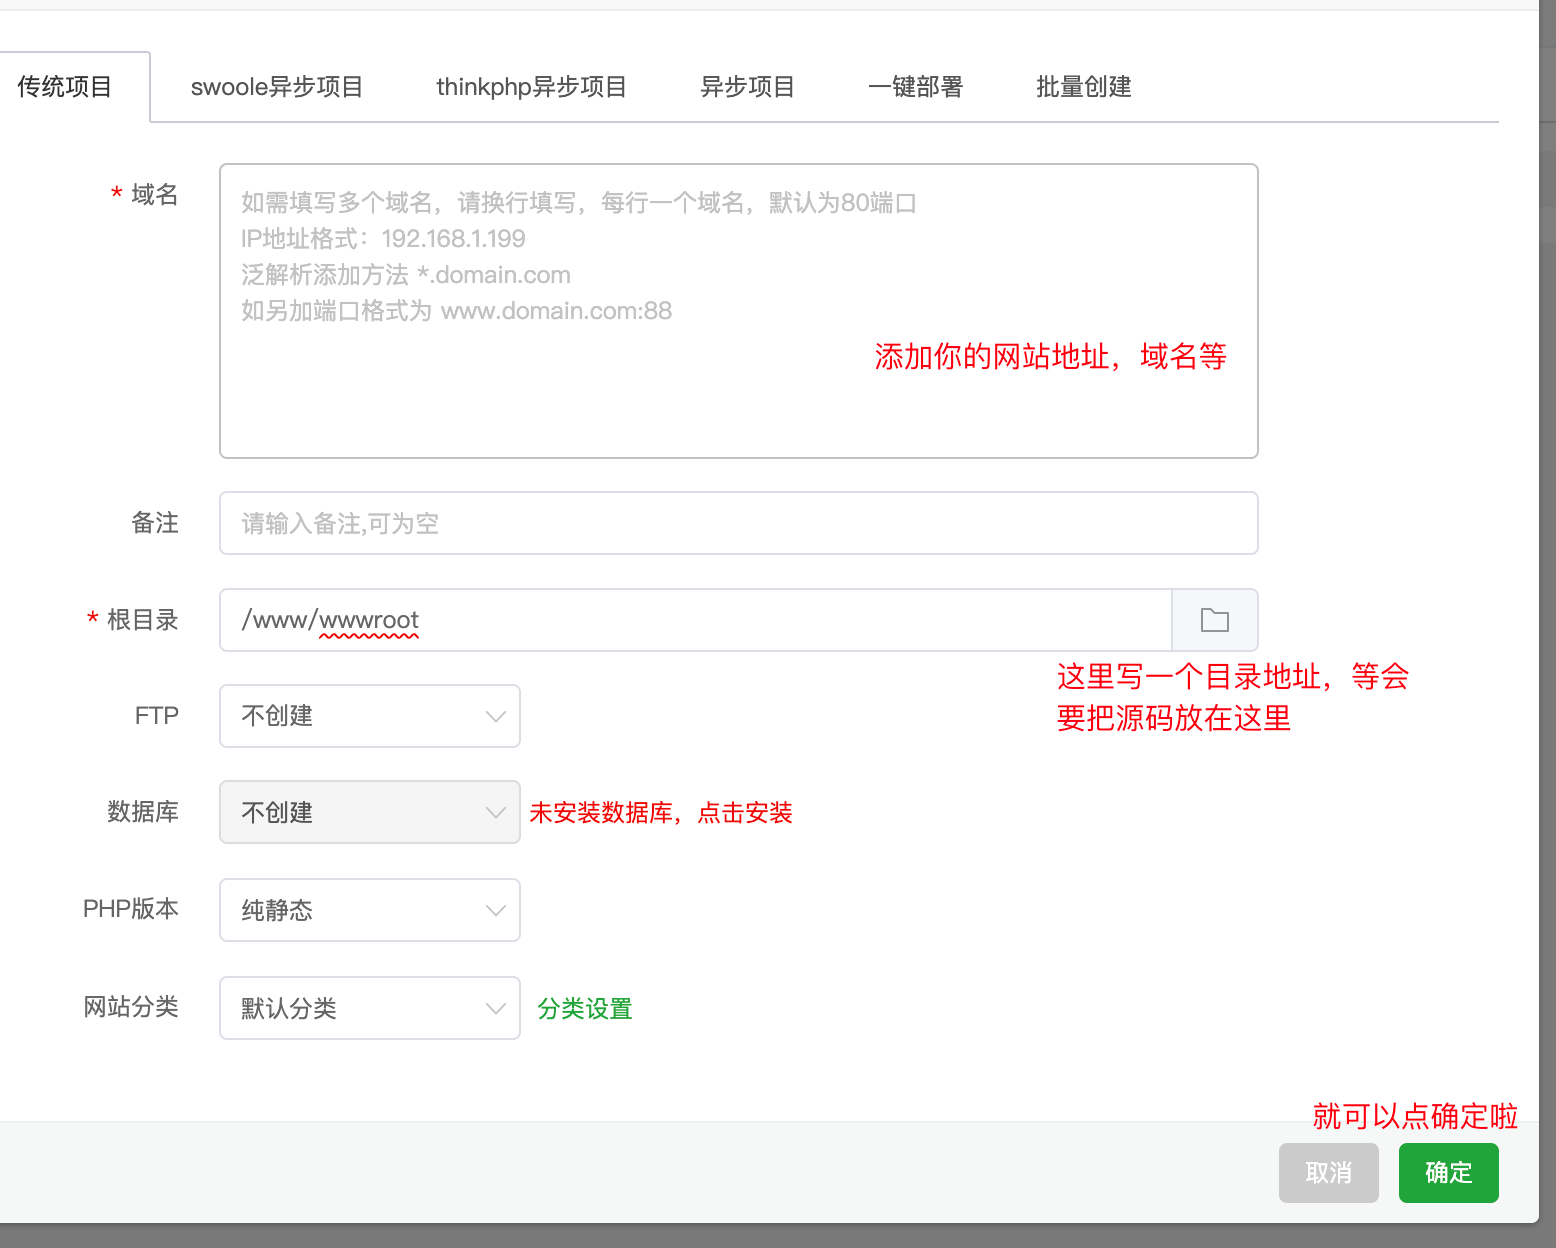
Next, go to the project root directory, upload the built source code of your blog, then click Settings on the right side of the site you just added. Under Configuration File, add the configuration code below. If you can’t add the configuration, it might be a Baota version issue – try updating or reinstalling Baota.
server{    listen 80;    listen 443 ssl http2 ;    server_name 123.45.67.8 xxx.cn www.xxx.cn;    index index.php index.html index.htm default.php default.htm default.html;    # Replace xxx.cn with your project's root directory    root /www/wwwroot/xxx.cn;
    #SSL-START SSL related config, do not delete or modify the 404 rule below    #error_page 404/404.html;    # Replace xxx with the actual path    ssl_certificate    /www/server/panel/vhost/cert/xxx/fullchain.pem;    ssl_certificate_key    /www/server/panel/vhost/cert/xxx/privkey.pem;    ssl_protocols TLSv1.1 TLSv1.2 TLSv1.3;    ssl_ciphers EECDH+CHACHA20:EECDH+CHACHA20-draft:EECDH+AES128:RSA+AES128:EECDH+AES256:RSA+AES256:EECDH+3DES:RSA+3DES:!MD5;    ssl_prefer_server_ciphers on;    ssl_session_cache shared:SSL:10m;    ssl_session_timeout 10m;    add_header Strict-Transport-Security "max-age=31536000";    error_page 497  https://$host$request_uri;
    #SSL-END    #Reference redirect rules, uncomment to disable the configured redirect proxy#   include /www/server/panel/vhost/nginx/redirect/xxx/*.conf;
    #Disallowed files or directories    location ~ ^/(\.user.ini|\.htaccess|\.git|\.env|\.svn|\.project|LICENSE|README.md)    {        return 404;    }
    #One-click SSL certificate verification directory settings    location ~ \.well-known{        allow all;    }
    #Prevent sensitive files from being placed in the certificate verification directory    if ( $uri ~ "^/\.well-known/.*\.(php|jsp|py|js|css|lua|ts|go|zip|tar\.gz|rar|7z|sql|bak)$" ) {        return 403;    }    location / {      try_files $uri $uri.html $uri/ =404;  }
  # This is necessary when `trailingSlash: false`.  # You can omit this when `trailingSlash: true`.  location /posts/ {      rewrite ^/posts/(.*)$ /posts break;  }     # Handle SPA routing (commented out by default)    # location / {    #     try_files $uri $uri/ /index.html;    # }
    location ~ .*\.(gif|jpg|jpeg|png|bmp|swf)$    {        expires      30d;        error_log /dev/null;        access_log /dev/null;    }
    location ~ .*\.(js|css)?$    {        expires      12h;        error_log /dev/null;        access_log /dev/null;    }    access_log  /www/wwwlogs/xxx.log;    error_log  /www/wwwlogs/xxx.error.log;}
If you don’t have an SSL certificate yet, delete the corresponding SSL lines. Now visit your website – it should be accessible.

Note: At this point, without SSL, you can only access via HTTP. This completes the basic website deployment. If you want to enable HTTPS and add a domain name, continue below.
Add Domain Name and Enable HTTPS
Enabling HTTPS requires a domain certificate. You can get a free one from Tencent Cloud – search for SSL Certificate and click Apply for Free Certificate.
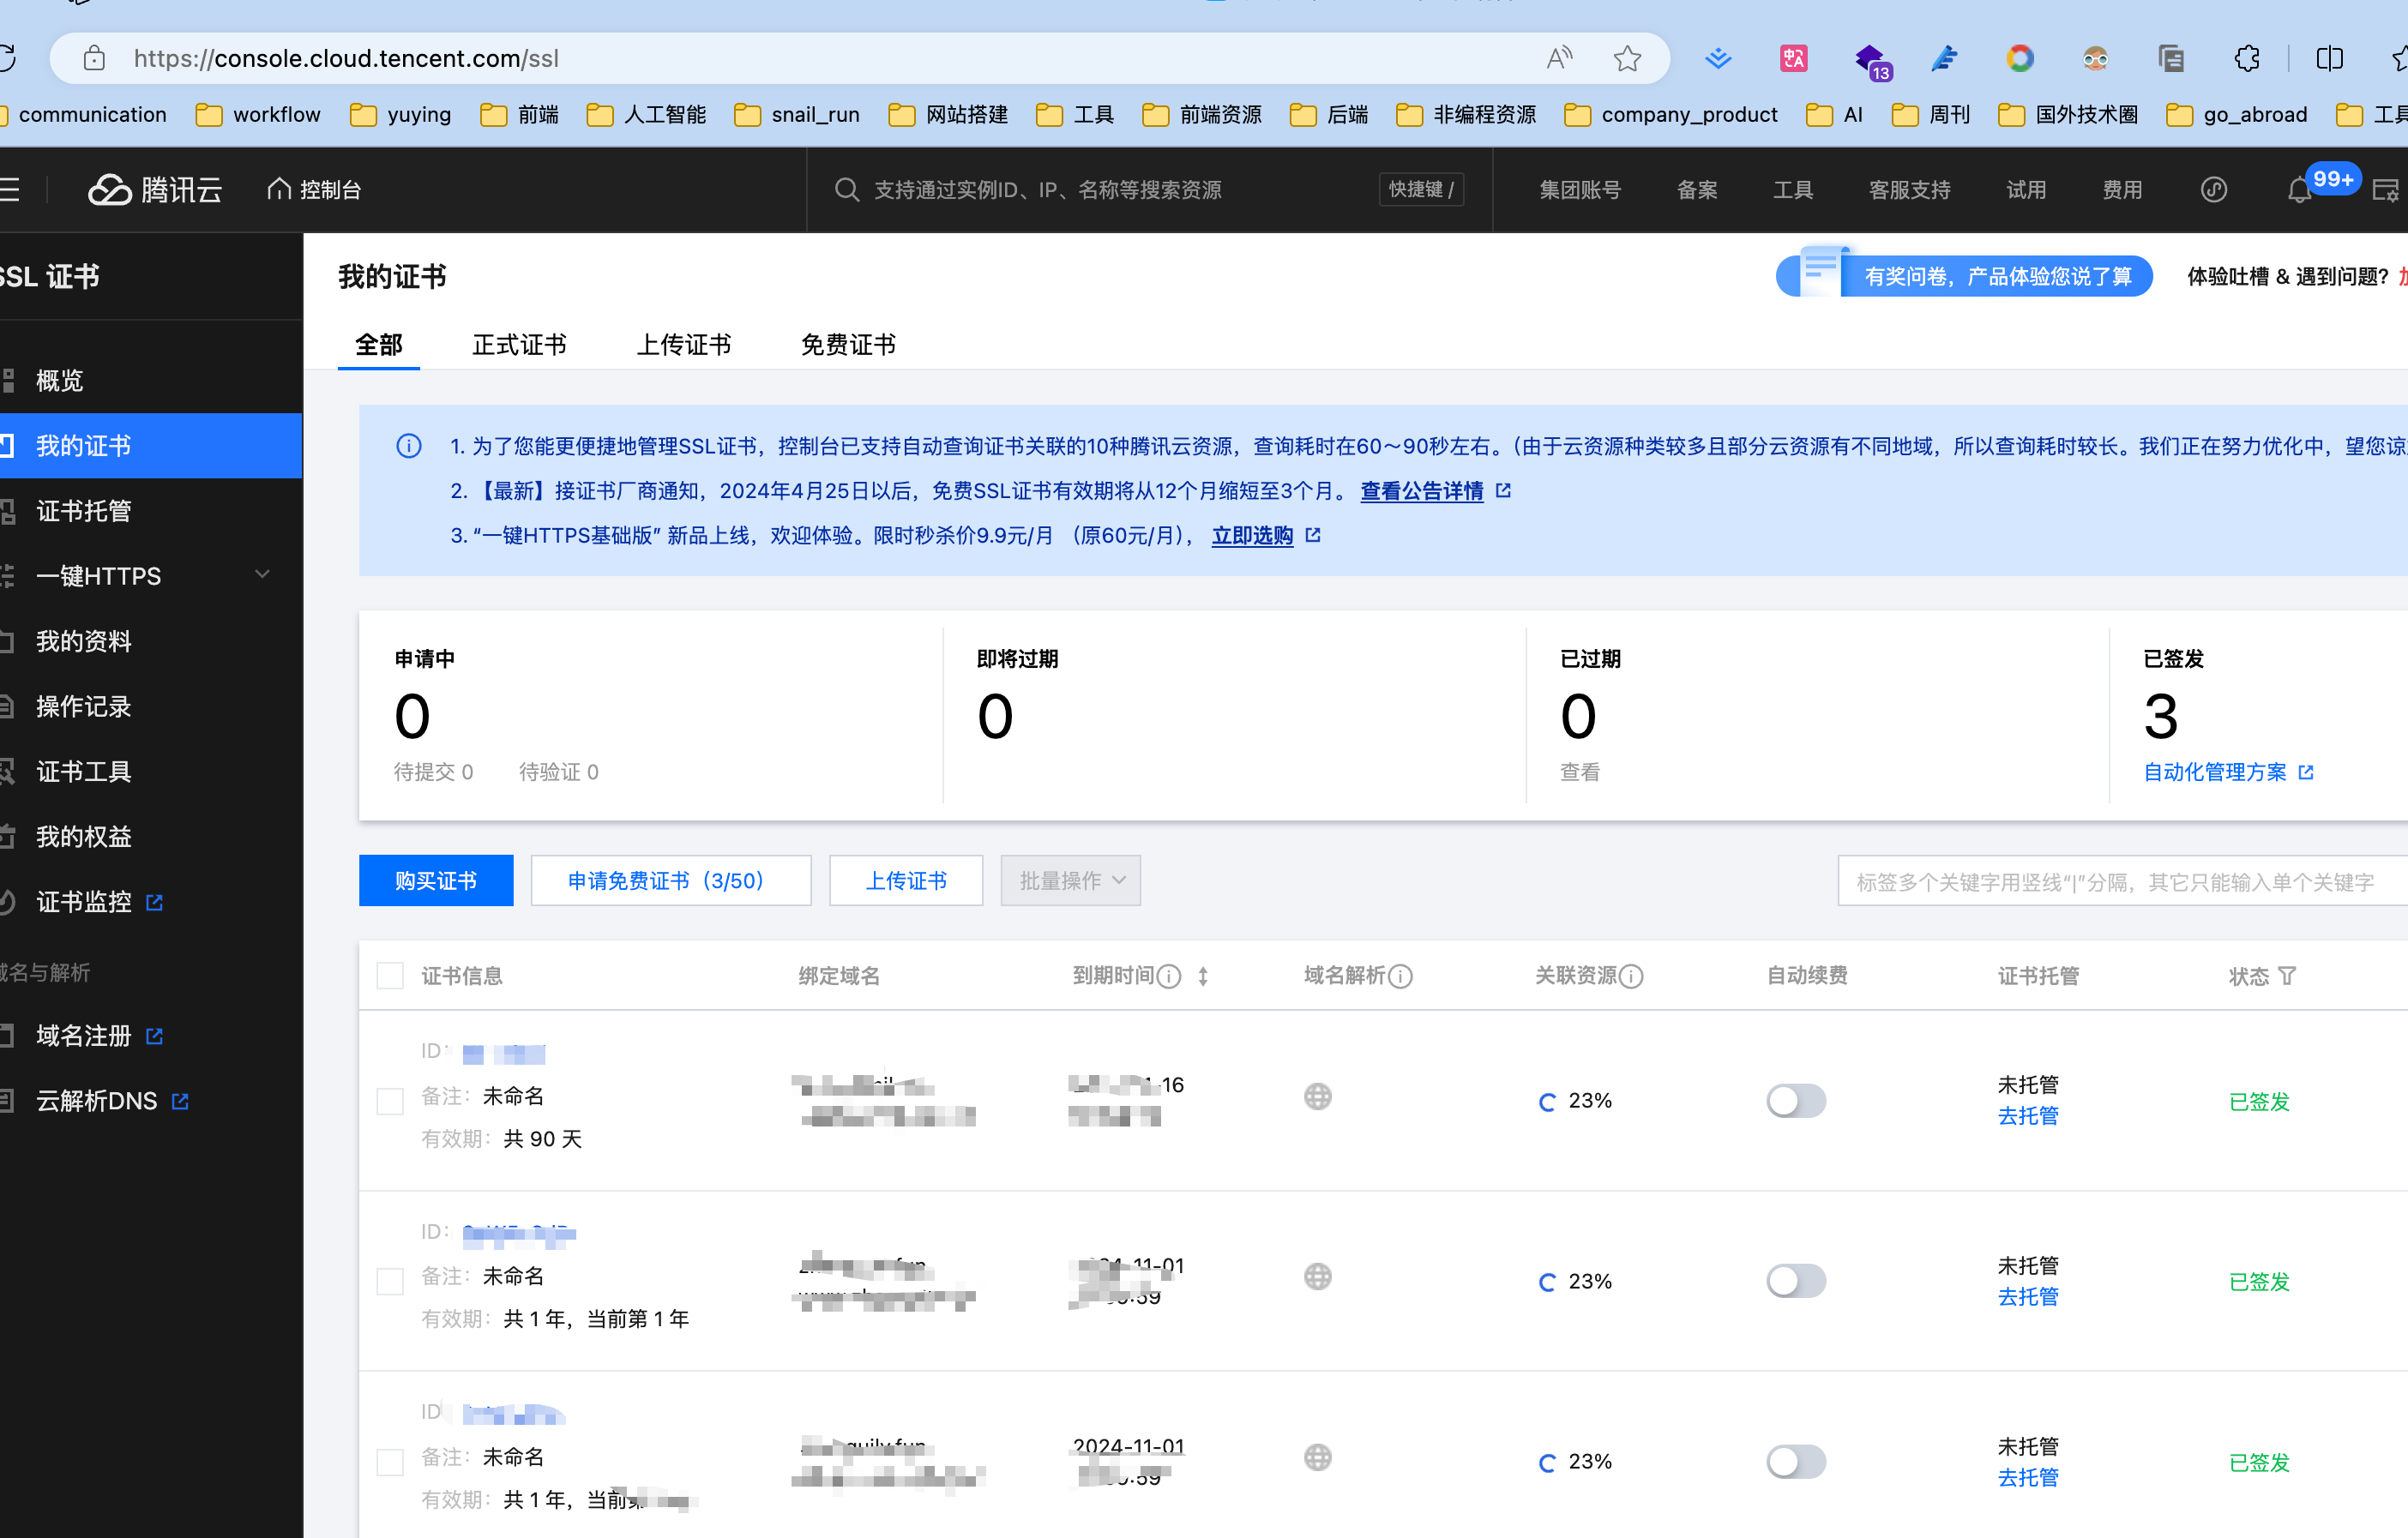
After applying, download the certificate, select Other, and download it. Then configure it in Baota panel.
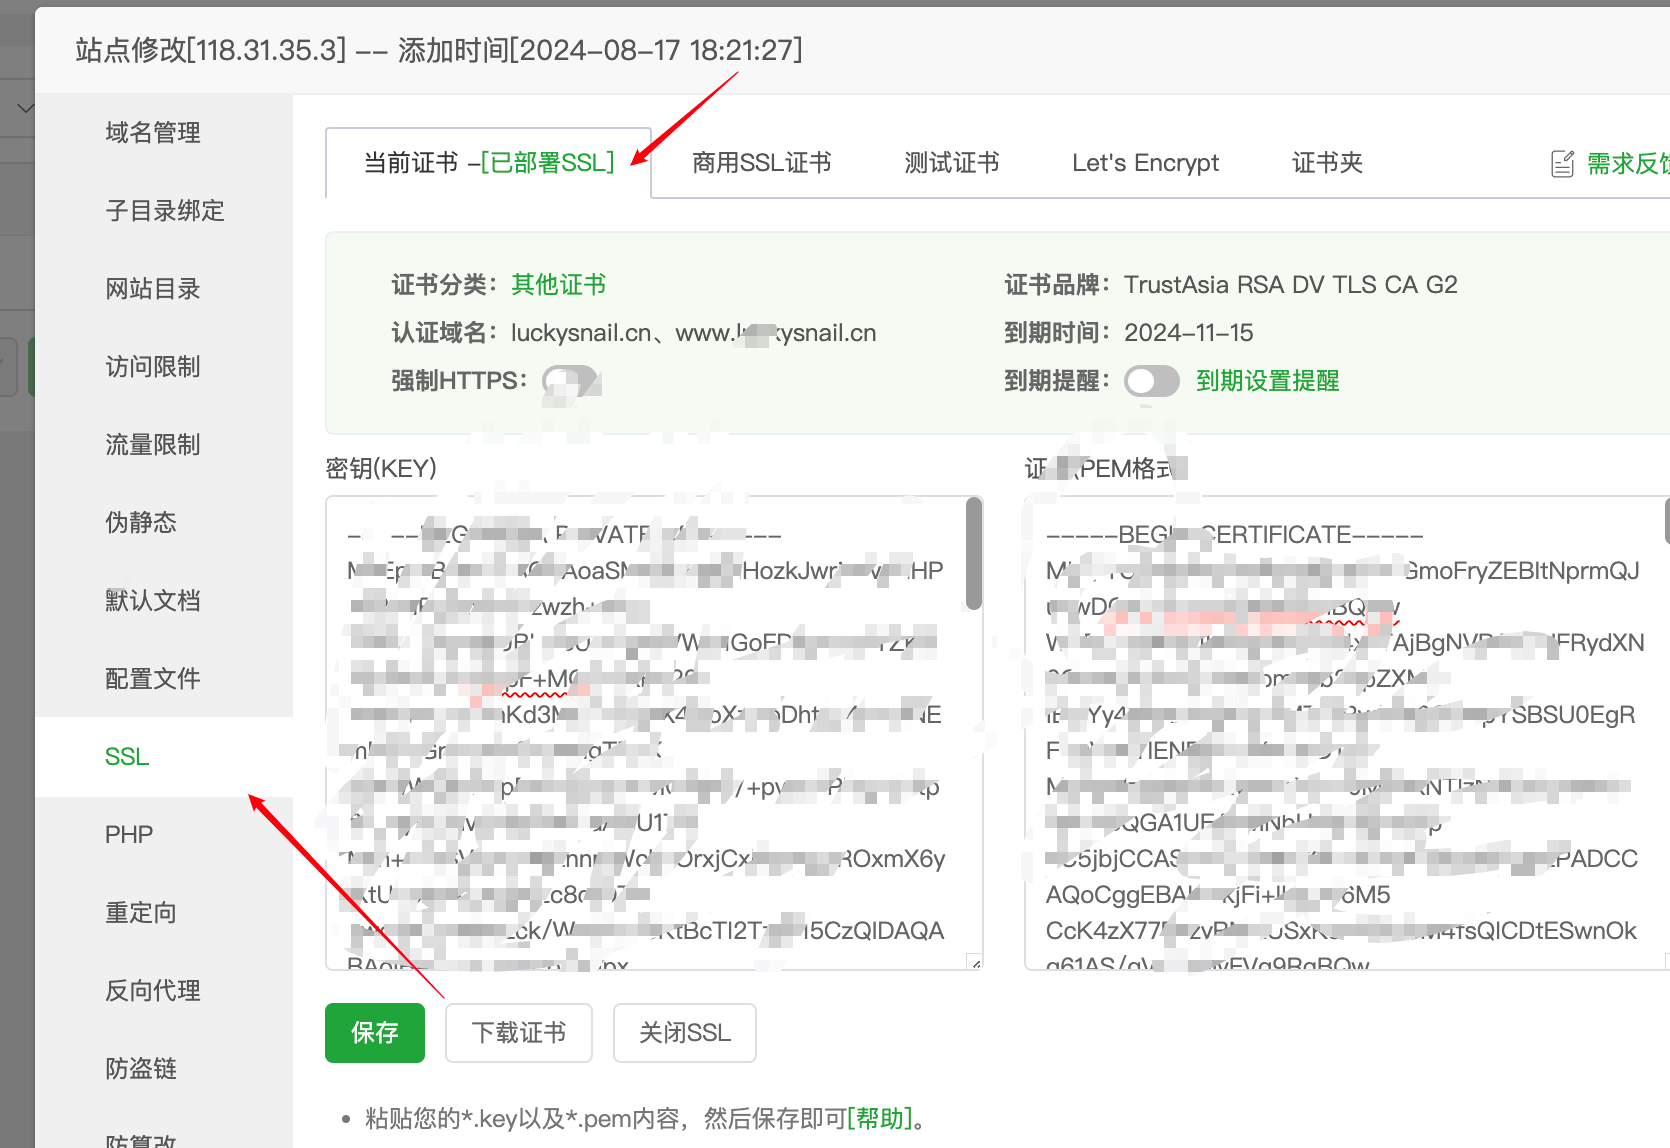
Once configured, Baota automatically updates the configuration file. Now you should be able to access via HTTPS.
Adding a domain name is even simpler. Go to where you purchased the domain and add a DNS record.
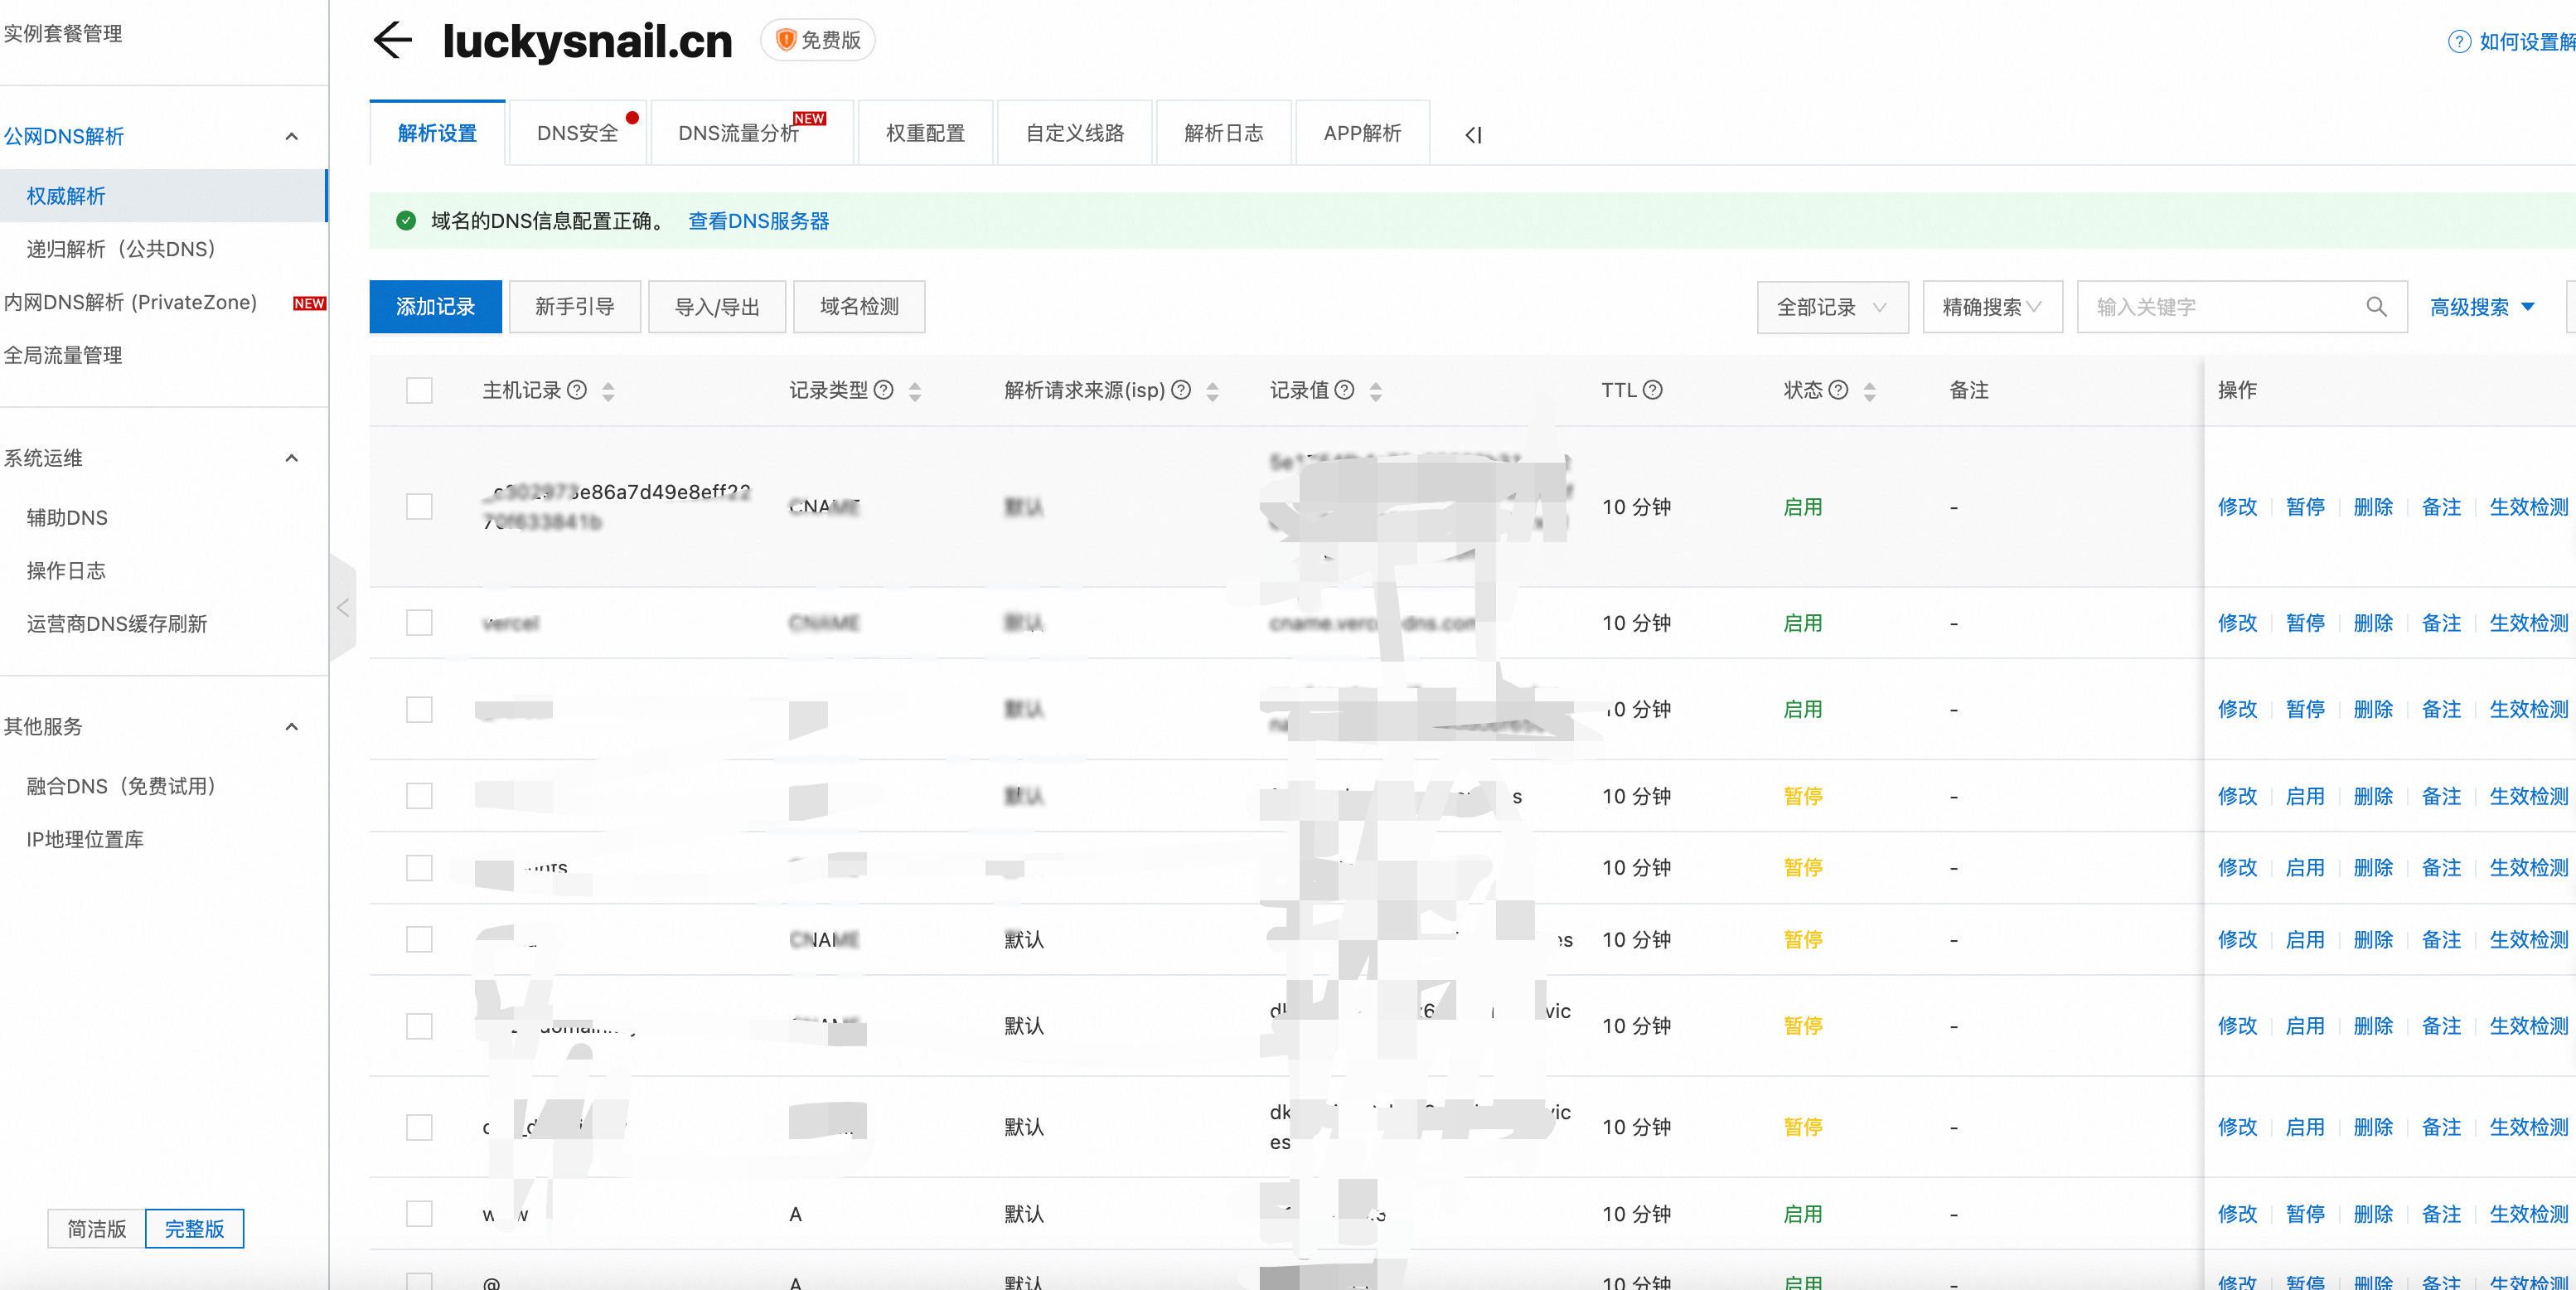
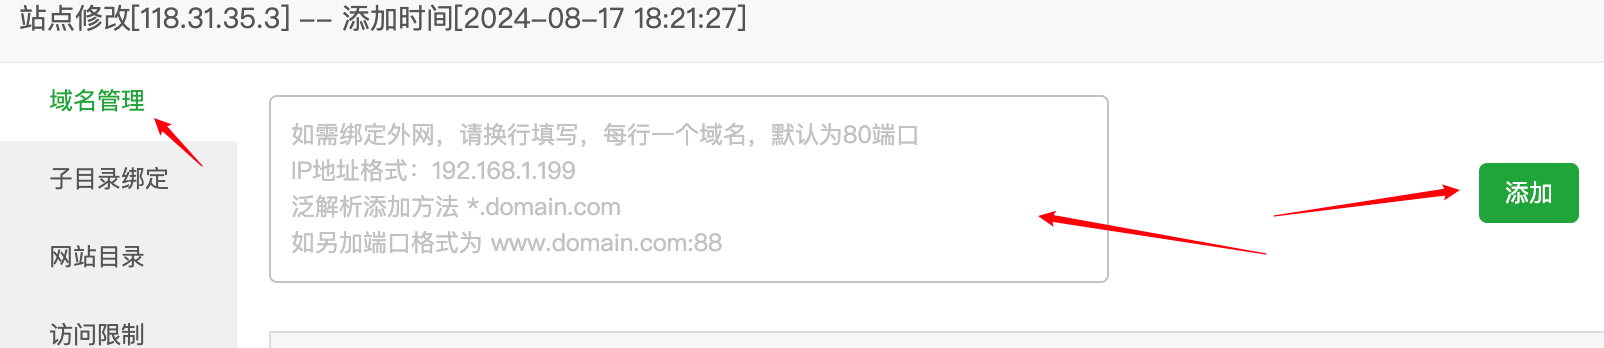
After adding the DNS record, open the site settings in Baota, click Domain Management, and add the domain you want to use.
Notes
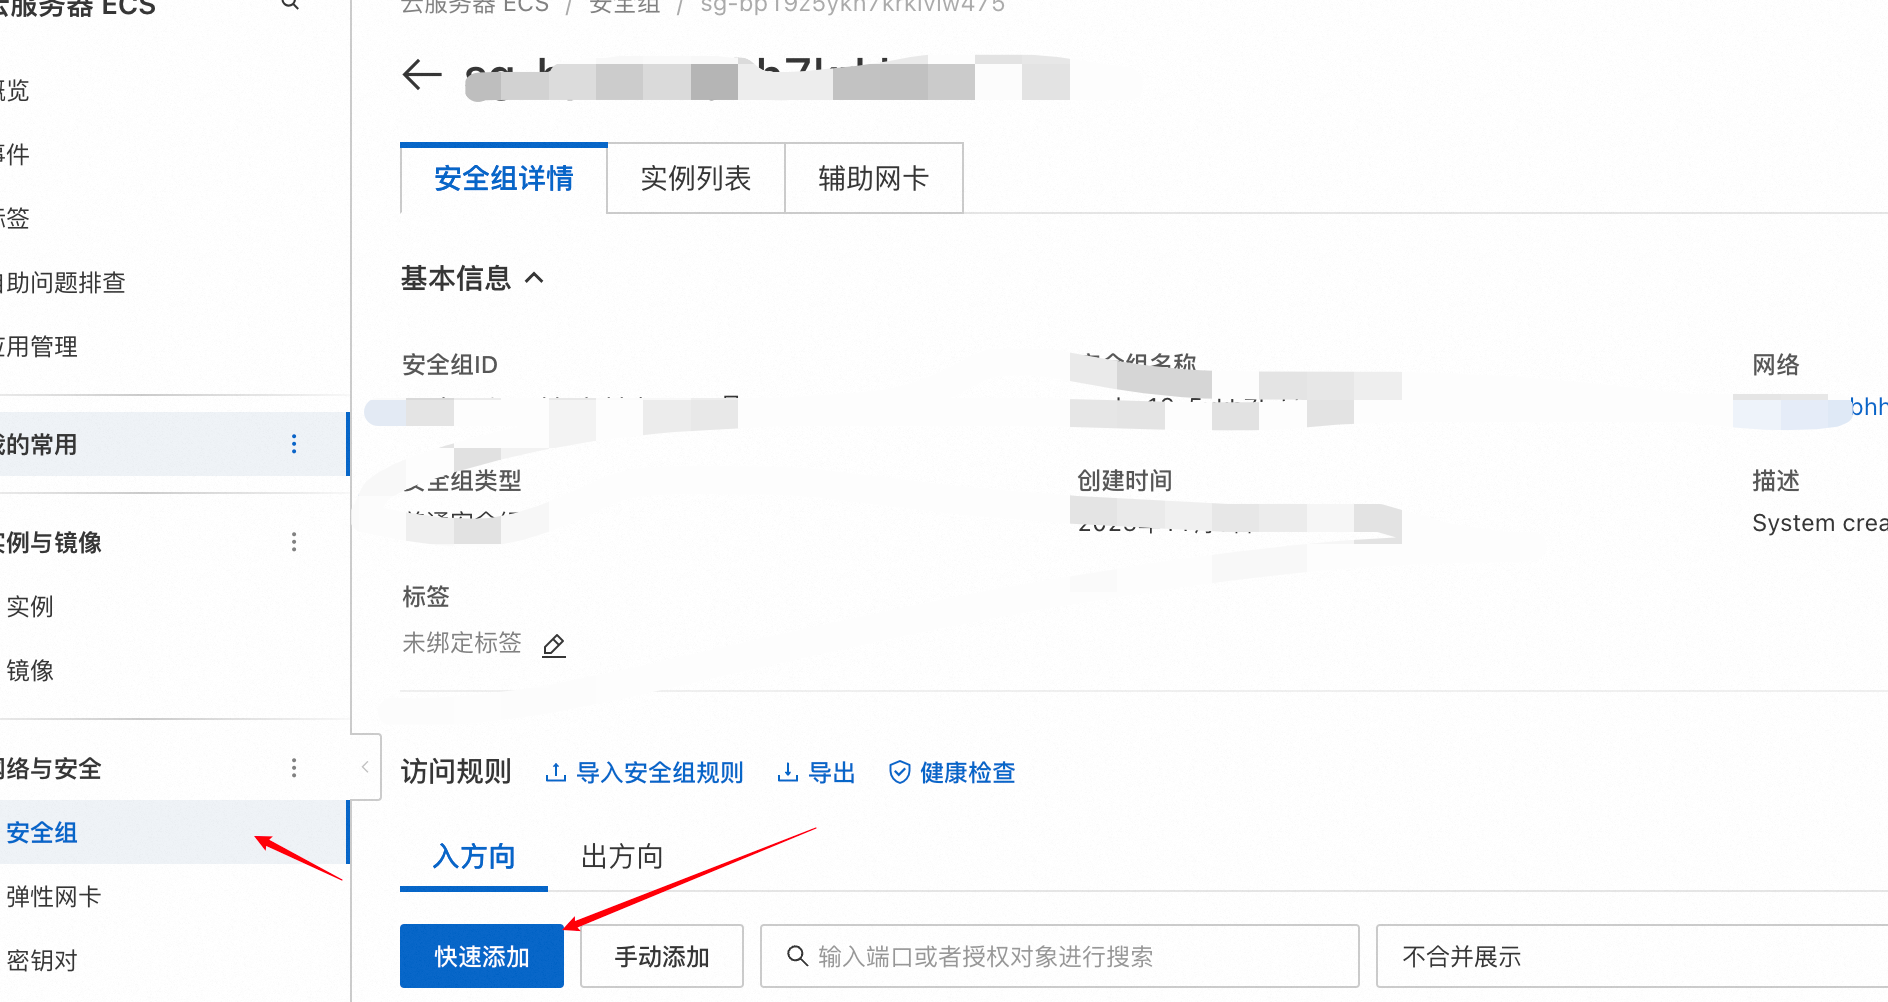
- You need to open the corresponding ports on your server (disable the firewall), otherwise you won’t be able to access it.
- In the configuration code, there’s a part that resolves the 404 error on refresh. The code is:
 location / {      try_files $uri $uri.html $uri/ =404;  }
  # This is necessary when `trailingSlash: false`.  # You can omit this when `trailingSlash: true`.  location /posts/ {      rewrite ^/posts/(.*)$ /posts break;  }
This also handles cases where the route points to a directory.
End
That’s it! However, since the project is now deployed on your own server, it won’t automatically redeploy via GitHub Issues. This is something you’ll need to solve – otherwise, every time you update an article, you’ll have to redeploy manually, which is quite cumbersome.